How to automate your home with Apple's HomeKit, with or without an iPad or Apple TV

Apple's HomeKit allows users to control compatible hardware with an iPhone -- but expanded control from outside the home requires either an Apple TV of some flavor, or an iPad. AppleInsider explains the use cases, and what you need to get started.
HomeKit can be very simple -- a single bulb or socket controlled by an iPhone. It can also get very complex, with a plethora of devices scattered all over your home, operating automatically in response to the time of day or from a response from a sensor.
What you need for each use case varies.
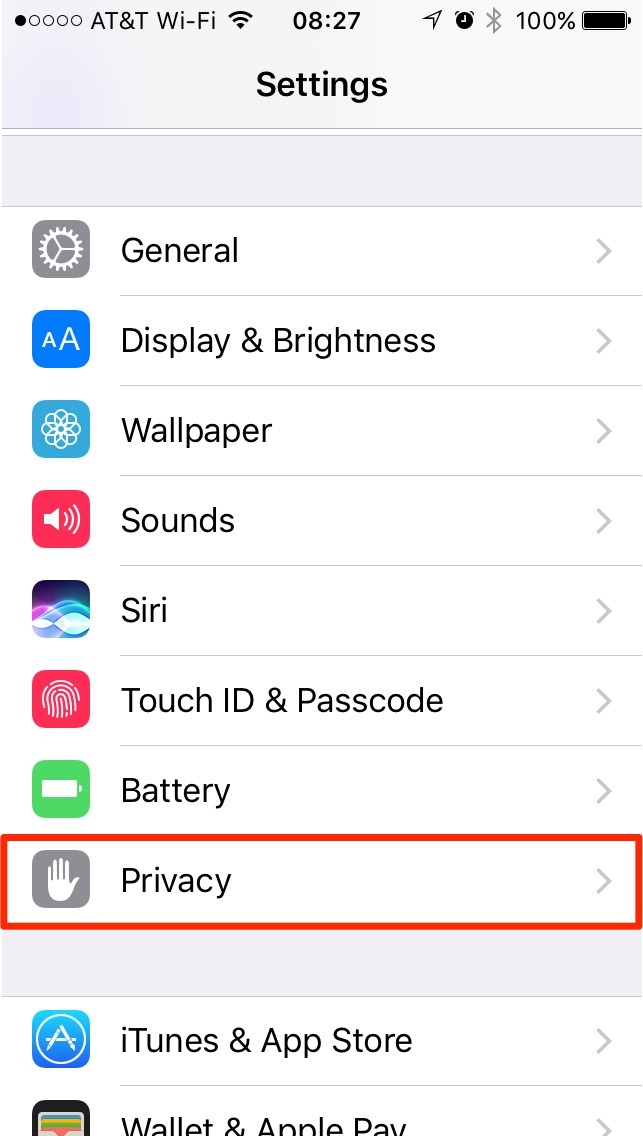
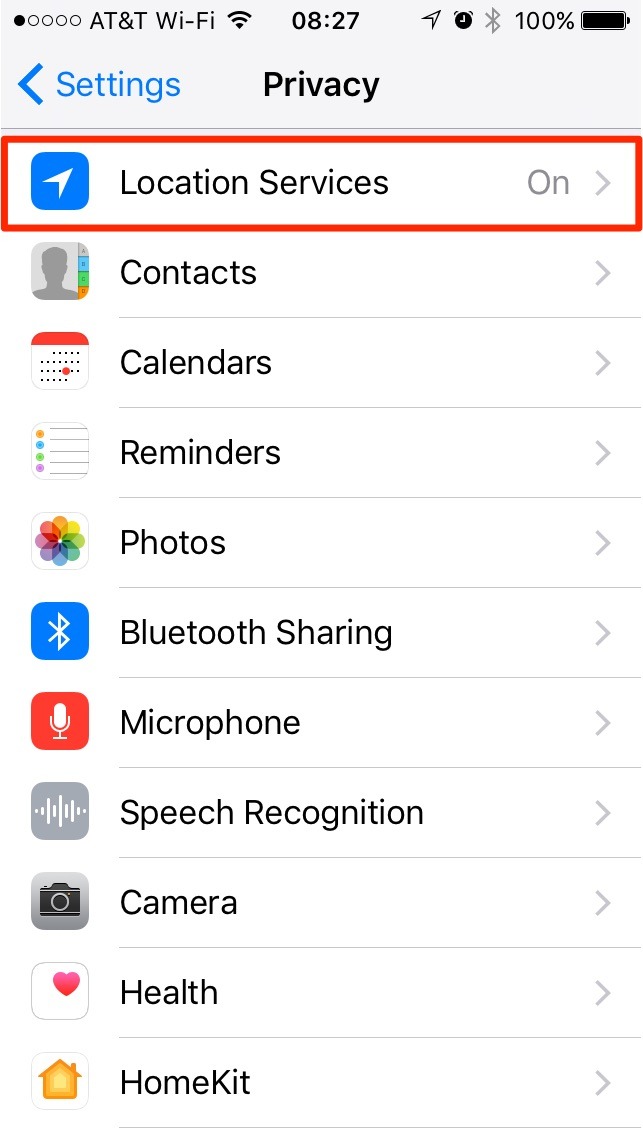
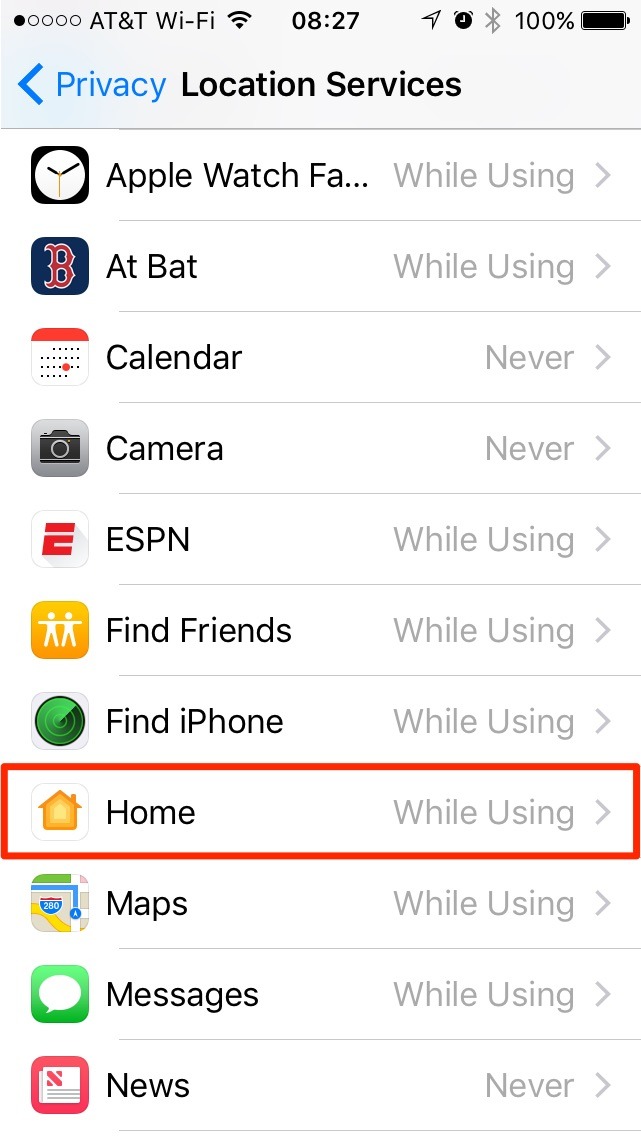
On your device, make sure the Home app can use your location, and sign in to iCloud with your Apple ID.
To make things easier for control if you have multiple devices you want to control HomeKit with, make sure iCloud Keychain is on. If it is, that will pass HomeKit device data to all of your linked devices.
An accessory has an eight-digit code associated with it, and now would be a good time to find that number.
To add an accessory, tap Add Accessory. Wait for the device to appear on the screen, and allow it to be added to the network, if necessary.
After network access is granted if demanded, scan the eight-digit HomeKit code or enter the code manually.
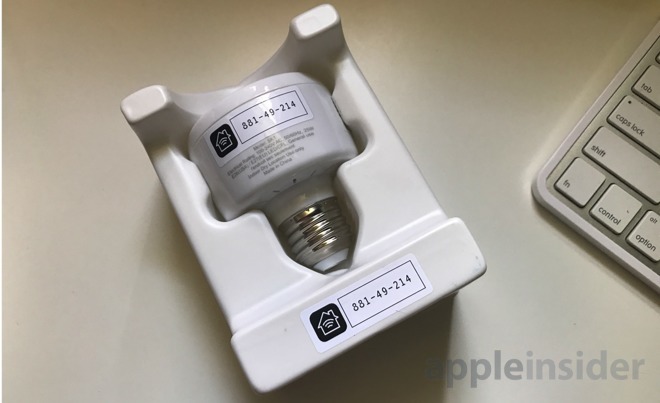
HomeKit code on packaging and Koogeek Smart Socket
Some accessories need more setup with the manufacturer's app, which we won't delve into here.
Just using an iPhone will also allow you to control these devices, rooms, or scenes with Siri.
Activating your devices manually outside of the home, sharing access to your HomeKit setup to other users, or setting up a series of HomeKit responses to do something at a certain time of day or in response to a stimulus from a sensor requires a home hub.
If you need a home hub for HomeKit, the third-generation Apple TV is a good place to start. However, Apple has limited HomeKit on the third-generation Apple TV -- it won't be able to be used to remotely access HomeKit cameras, change user permissions, or create automations from the device. Right now, this isn't much of a limitation given the very few HomeKit camera options there are, and the iPhone is a far better setup tool for automation creation anyhow.
You should have two-factor authentication active for either use case. We've discussed how to turn this on in the past, and it's a good idea for safety anyhow, so take a minute and get your devices properly configured.
If you're using an iPad, go to your iCloud settings, and sign in with your Apple TV. Check that the iCloud Keychain and Home are turned on. Following that, go to Home in the Settings menu, and turn on Use this iPad as a Home Hub
The Apple TV configuration is similar. Sign in to your Apple TV with the same Apple ID as your setup iPhone, and turn on the iCloud Keychain. The Apple TV should automatically set itself up at this point.
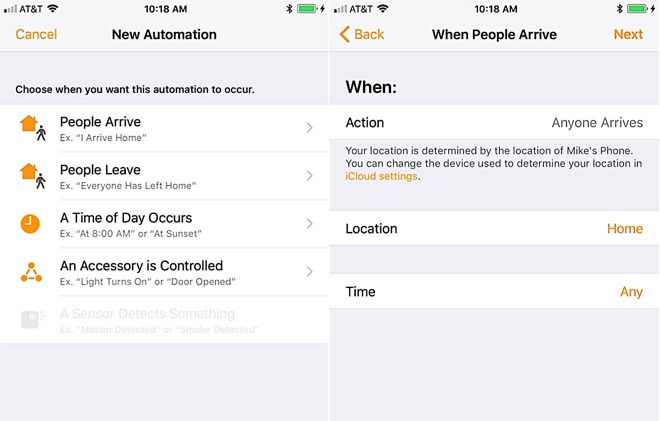
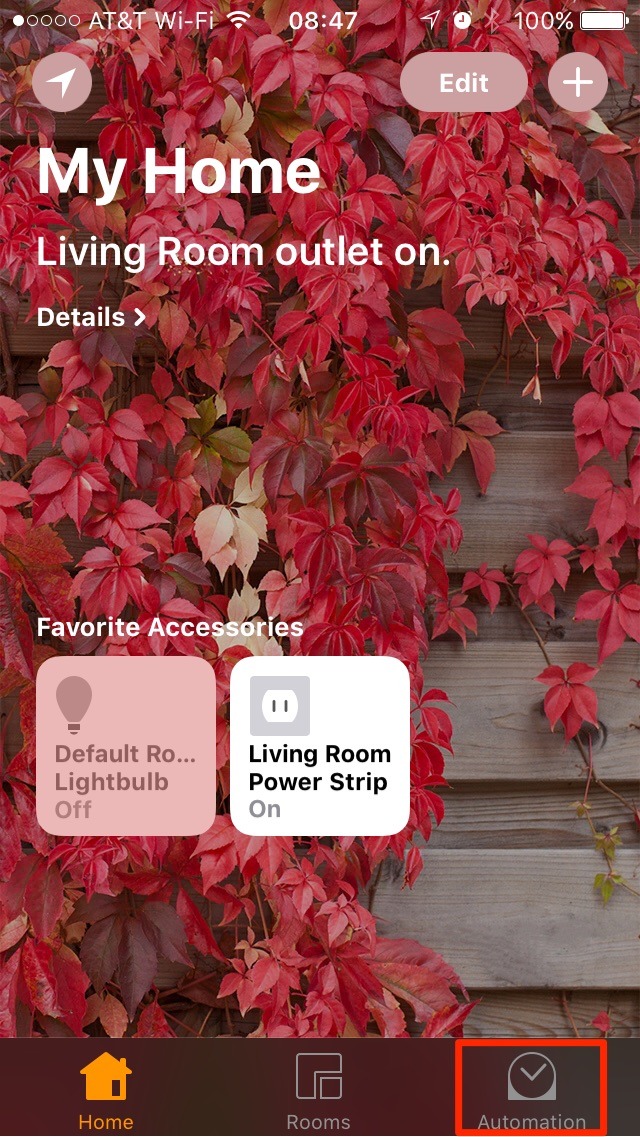
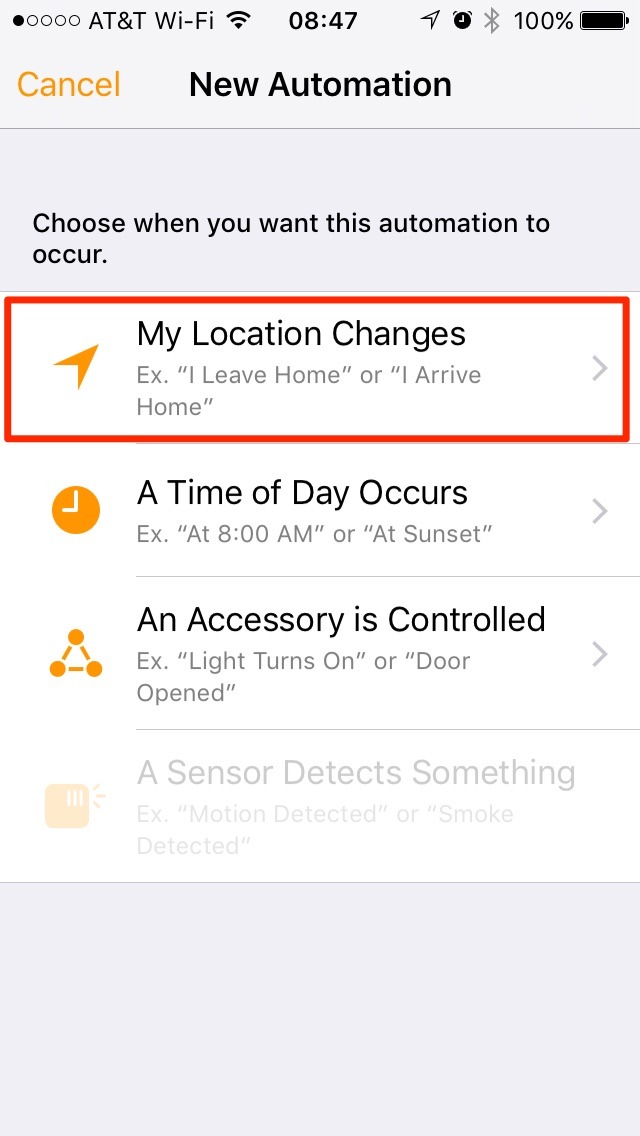
After you've set up a home hub, In the Home app, tap Automation and tap Create New Automation.
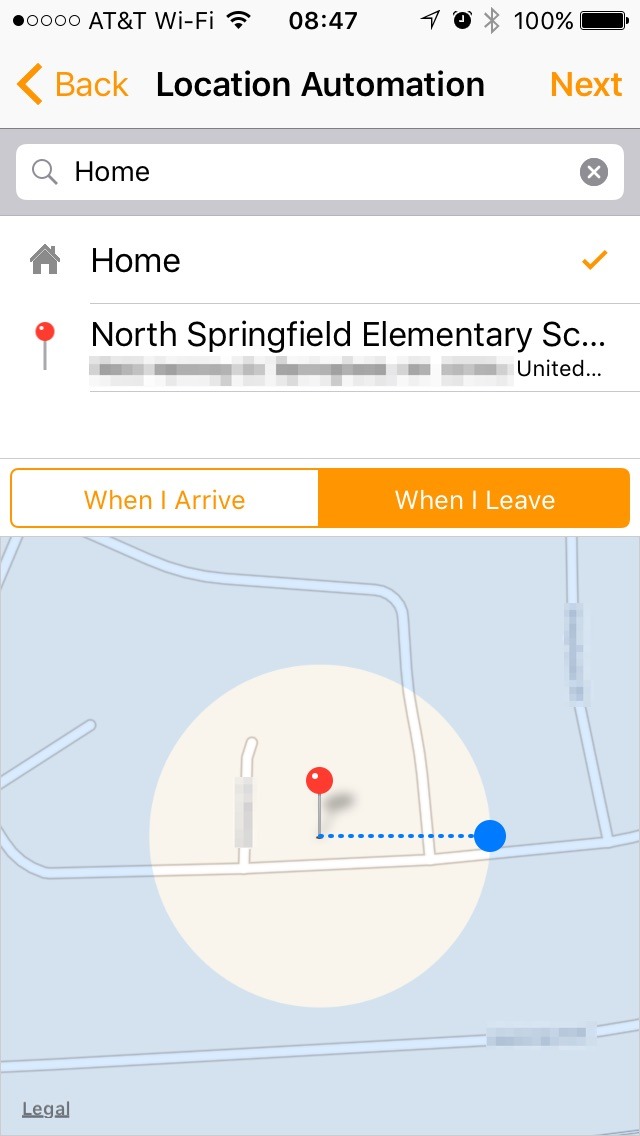
In our example case, we want to kill power to that power strip when we leave the house. So, we tap on My Location Changes. We can then set "When I Arrive" or "When I Leave" and the Home app gives us a radius to select for a distance from the selected location that can be pulled as tight as 328 feet.
Keep in mind that location data isn't provided by military GPS signals. It is an estimate, so setting a radius too tight won't help you that much. If you're a social gadfly in your neighborhood and engage your neighbors in conversation often, set the range a bit wider. After setting the radius, tap Next.
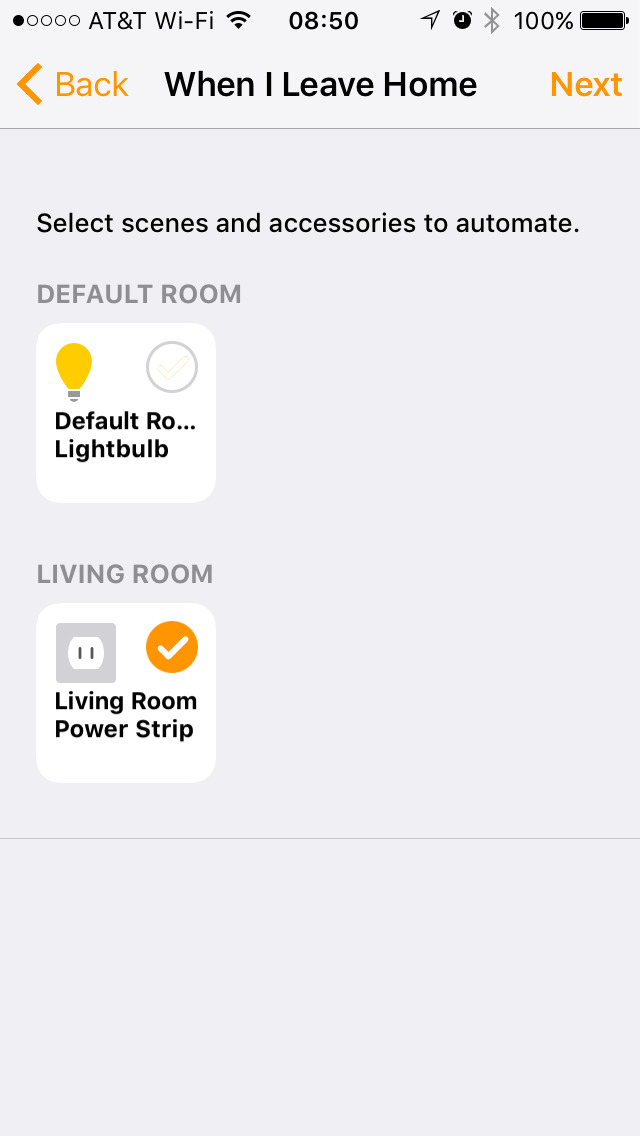
Select the device or scene you want to actuate, and click Next. Then, select the status of the device, on or off, tap Next again, then tap Done.
This procedure is slightly different in iOS 11, and we'll address it further after release.
There are more event triggers in iOS 11, with more conditions and additional logical situations able to be applied to automations, as well as time sensitivity like running a fan for an hour after triggered by a stimulus.
Another big addition to the logical conditions in iOS 11 is a wide expansion of "geofencing." Expanding our example, in iOS 11 the power switch connected to the entertainment center can turn off when all authorized users exit the geofenced area, and turn back on when any of the users return.
Changes to automation conditions in the iOS 11 beta
For the audiophiles, HomeKit can be used for multi-room audio with AirPlay 2-compatible speakers, but it does not appear that this will be made backwards compatible with original AirPlay devices.
What will have the widest impact on users of the home automation technology is that Apple is opening up the hardware. Instead of a dedicated chip for device communication encryption, Apple is allowing HomeKit devices to do it in software.
This has the potential to open up a wide array of devices without needing an translating bridge. But how many vendors will choose to issue a firmware update to do so, or have given their devices enough processing power to perform the encryption and decryption isn't clear yet.
Start simple. Get a smart bulb or a HomeKit wall switch. Experiment to see if you like it, and more importantly, if the rest of the residents of your home can live with it.
Be aware of what you buy. Some HomeKit devices communicate with wi-fi, and some with Bluetooth. Some low-power Bluetooth accessories require an iPhone, iPad or Apple TV within range to bridge them to the network, so that fancy Bluetooth-only lock you bought might not work without proper home hub location. AppleInsider will talk more about HomeKit best practices at a later date.
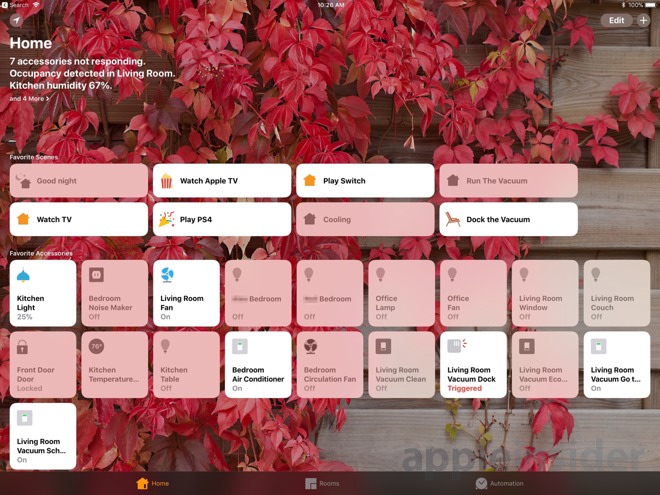
One AppleInsider staffer's actual in-use HomeKit setup
Even after you've got the perfect system planned out, HomeKit takes some getting used to. One AppleInsider staffer has basically gone all-in on HomeKit, a second is in the evaluation phase, and a third is interested in getting home automation going -- and all of us have different concerns and use cases.
How successful a HomeKit installation is, depends on how willing the users are to adapt to it, and how much work has gone into making that adaptation as painless as possible. This is why HomeKit wall switches are a great solution, and things like wall outlets and smart bulbs are less ideal for a mixed build.
HomeKit can be very simple -- a single bulb or socket controlled by an iPhone. It can also get very complex, with a plethora of devices scattered all over your home, operating automatically in response to the time of day or from a response from a sensor.
What you need for each use case varies.
Setting up your first device
Apple at present requires iOS 10 for full use of HomeKit. HomeKit compatible accessories are clearly labeled, so purchase wisely!On your device, make sure the Home app can use your location, and sign in to iCloud with your Apple ID.
To make things easier for control if you have multiple devices you want to control HomeKit with, make sure iCloud Keychain is on. If it is, that will pass HomeKit device data to all of your linked devices.
An accessory has an eight-digit code associated with it, and now would be a good time to find that number.
To add an accessory, tap Add Accessory. Wait for the device to appear on the screen, and allow it to be added to the network, if necessary.
After network access is granted if demanded, scan the eight-digit HomeKit code or enter the code manually.
HomeKit code on packaging and Koogeek Smart Socket
Some accessories need more setup with the manufacturer's app, which we won't delve into here.
What you can and can't do without a home hub
Without using an Apple TV or an iPad as a home hub, you can organize devices together in a room, control accessories, and create a scene to control multiple accessories with a single tap when you're in range of your wireless network.Just using an iPhone will also allow you to control these devices, rooms, or scenes with Siri.
Activating your devices manually outside of the home, sharing access to your HomeKit setup to other users, or setting up a series of HomeKit responses to do something at a certain time of day or in response to a stimulus from a sensor requires a home hub.
Allowing for automation and remote access with a home hub
Your iPhone can control your HomeKit devices, activate scenes you've set up, control by the room, or even control your home from inside your wireless network. More advanced features require a third-generation Apple TV at a minimum, but a fourth-generation Apple TV or iPad with iOS 10.3 or above are recommended.If you need a home hub for HomeKit, the third-generation Apple TV is a good place to start. However, Apple has limited HomeKit on the third-generation Apple TV -- it won't be able to be used to remotely access HomeKit cameras, change user permissions, or create automations from the device. Right now, this isn't much of a limitation given the very few HomeKit camera options there are, and the iPhone is a far better setup tool for automation creation anyhow.
You should have two-factor authentication active for either use case. We've discussed how to turn this on in the past, and it's a good idea for safety anyhow, so take a minute and get your devices properly configured.
If you're using an iPad, go to your iCloud settings, and sign in with your Apple TV. Check that the iCloud Keychain and Home are turned on. Following that, go to Home in the Settings menu, and turn on Use this iPad as a Home Hub
The Apple TV configuration is similar. Sign in to your Apple TV with the same Apple ID as your setup iPhone, and turn on the iCloud Keychain. The Apple TV should automatically set itself up at this point.
Setting up an automation in iOS 10
In a previous review of a HomeKit product, we mentioned that we were saving a fair amount of electricity when we cut off a power strip when not in use. What if we wanted this to turn on and off when we left the range of our network?After you've set up a home hub, In the Home app, tap Automation and tap Create New Automation.
In our example case, we want to kill power to that power strip when we leave the house. So, we tap on My Location Changes. We can then set "When I Arrive" or "When I Leave" and the Home app gives us a radius to select for a distance from the selected location that can be pulled as tight as 328 feet.
Keep in mind that location data isn't provided by military GPS signals. It is an estimate, so setting a radius too tight won't help you that much. If you're a social gadfly in your neighborhood and engage your neighbors in conversation often, set the range a bit wider. After setting the radius, tap Next.
Select the device or scene you want to actuate, and click Next. Then, select the status of the device, on or off, tap Next again, then tap Done.
This procedure is slightly different in iOS 11, and we'll address it further after release.
Expansion in iOS 11
The Home app still works the same way it does in iOS 10. Setup might be made easier by the addition of QR codes and NFC peripheral identification -- but the process is pretty simple now.There are more event triggers in iOS 11, with more conditions and additional logical situations able to be applied to automations, as well as time sensitivity like running a fan for an hour after triggered by a stimulus.
Another big addition to the logical conditions in iOS 11 is a wide expansion of "geofencing." Expanding our example, in iOS 11 the power switch connected to the entertainment center can turn off when all authorized users exit the geofenced area, and turn back on when any of the users return.
Changes to automation conditions in the iOS 11 beta
For the audiophiles, HomeKit can be used for multi-room audio with AirPlay 2-compatible speakers, but it does not appear that this will be made backwards compatible with original AirPlay devices.
What will have the widest impact on users of the home automation technology is that Apple is opening up the hardware. Instead of a dedicated chip for device communication encryption, Apple is allowing HomeKit devices to do it in software.
This has the potential to open up a wide array of devices without needing an translating bridge. But how many vendors will choose to issue a firmware update to do so, or have given their devices enough processing power to perform the encryption and decryption isn't clear yet.
Jumping into HomeKit?
Apple has made HomeKit as simple for the user as possible, and as it grows iOS is able to make it as complex as needed. Its very easy to get bogged down, and under-buy or over-spend.Start simple. Get a smart bulb or a HomeKit wall switch. Experiment to see if you like it, and more importantly, if the rest of the residents of your home can live with it.
Be aware of what you buy. Some HomeKit devices communicate with wi-fi, and some with Bluetooth. Some low-power Bluetooth accessories require an iPhone, iPad or Apple TV within range to bridge them to the network, so that fancy Bluetooth-only lock you bought might not work without proper home hub location. AppleInsider will talk more about HomeKit best practices at a later date.
One AppleInsider staffer's actual in-use HomeKit setup
Even after you've got the perfect system planned out, HomeKit takes some getting used to. One AppleInsider staffer has basically gone all-in on HomeKit, a second is in the evaluation phase, and a third is interested in getting home automation going -- and all of us have different concerns and use cases.
How successful a HomeKit installation is, depends on how willing the users are to adapt to it, and how much work has gone into making that adaptation as painless as possible. This is why HomeKit wall switches are a great solution, and things like wall outlets and smart bulbs are less ideal for a mixed build.

Comments
First off: "You should have two-factor authentication active for either use case. We've discussed how to turn this on in the past, and it's a good idea for safety anyhow, so take a minute and get your devices properly configured."
2-Factor authentication and iCloud keychain are both required for remote access, automations, and sharing access. see: https://support.apple.com/en-us/HT207057 at the bottom where it says get help you will notice that both of those are first on the list of things to check for.
Next: "If you need a home hub for HomeKit, the third-generation Apple TV is a good place to start. However, Apple has limited HomeKit on the third-generation Apple TV -- it won't be able to be used to remotely access HomeKit cameras, change user permissions, or create automations from the device. Right now, this isn't much of a limitation given the very few HomeKit camera options there are, and the iPhone is a far better setup tool for automation creation anyhow."
However, automation creation is only available on an iOS device. You seem to imply here that it can be done on a 4th gen apple tv. That may become available in tvOS11 but it hasn't been announced yet.
More importantly, if you only have a 3rd gen apple tv for a hub you will not be able to change user permissions or create automations at all. That requires either a 4th gen Apple TV running tvOS10 or an iPad running iOS10.