How to use the built-in level in the iOS 12 Camera app

One thing people may have missed in the iOS Camera app is a built-in level -- though it appears only under very specific circumstances.
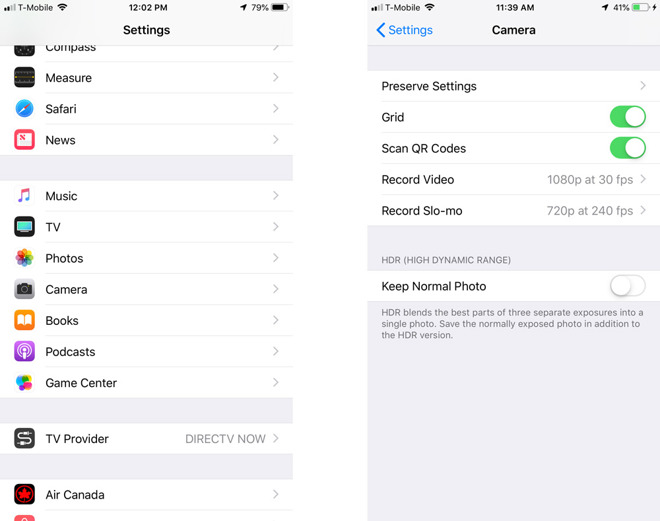
Before anything, you'll have to have the Camera's grid layer enabled. Usually the grid is there only to aid regular composition, for instance when obeying the rule of thirds.
To turn the grid on, open the Settings app, then scroll down until you find the Camera menu. You'll find the toggle there.
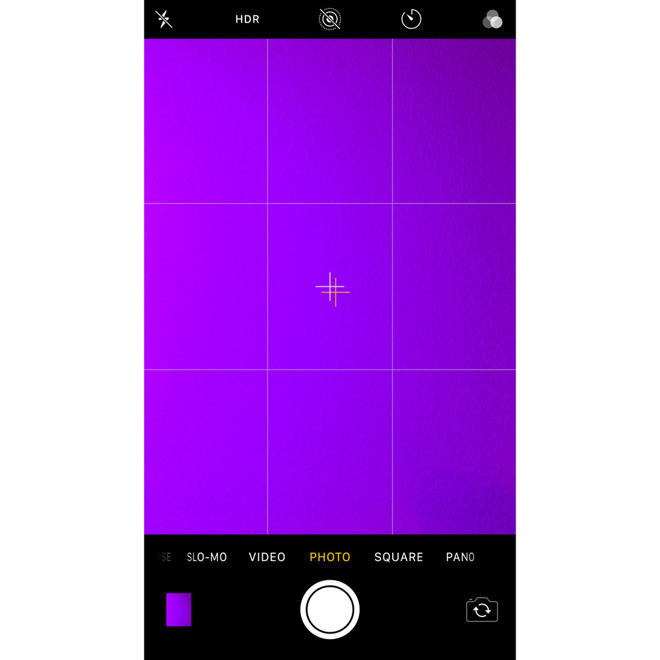
The level still won't appear if you aim at most objects. Instead, it only appears as crosshairs when you point straight up or down, presumably so you can get a perfectly flat view of subjects at those angles, which might otherwise be difficult to judge. This can be especially handy for capturing documents to email or scan with OCR (optical character recognition).
Align the crosshairs, and you should be shooting level.
Before anything, you'll have to have the Camera's grid layer enabled. Usually the grid is there only to aid regular composition, for instance when obeying the rule of thirds.
To turn the grid on, open the Settings app, then scroll down until you find the Camera menu. You'll find the toggle there.
The level still won't appear if you aim at most objects. Instead, it only appears as crosshairs when you point straight up or down, presumably so you can get a perfectly flat view of subjects at those angles, which might otherwise be difficult to judge. This can be especially handy for capturing documents to email or scan with OCR (optical character recognition).
Align the crosshairs, and you should be shooting level.
Comments
Having a guide for getting a picture straight would be good. The guides do help when there is a horizon in the image. I would have imagined that the gyroscope could be used to provide information on how level the image is.
Horizontal in respect to the phone's position ie parallel to the subject you're shooting.
Vertical ('true vertical') as in centered directly above the subject and not just horizontal but to the left or right or some other angle to your work.