How to make stickers from Photos in iPadOS

A little-known feature in iOS and iPadOS lets you turn images into stickers. Here's how to make your own affixable images on an iPad.
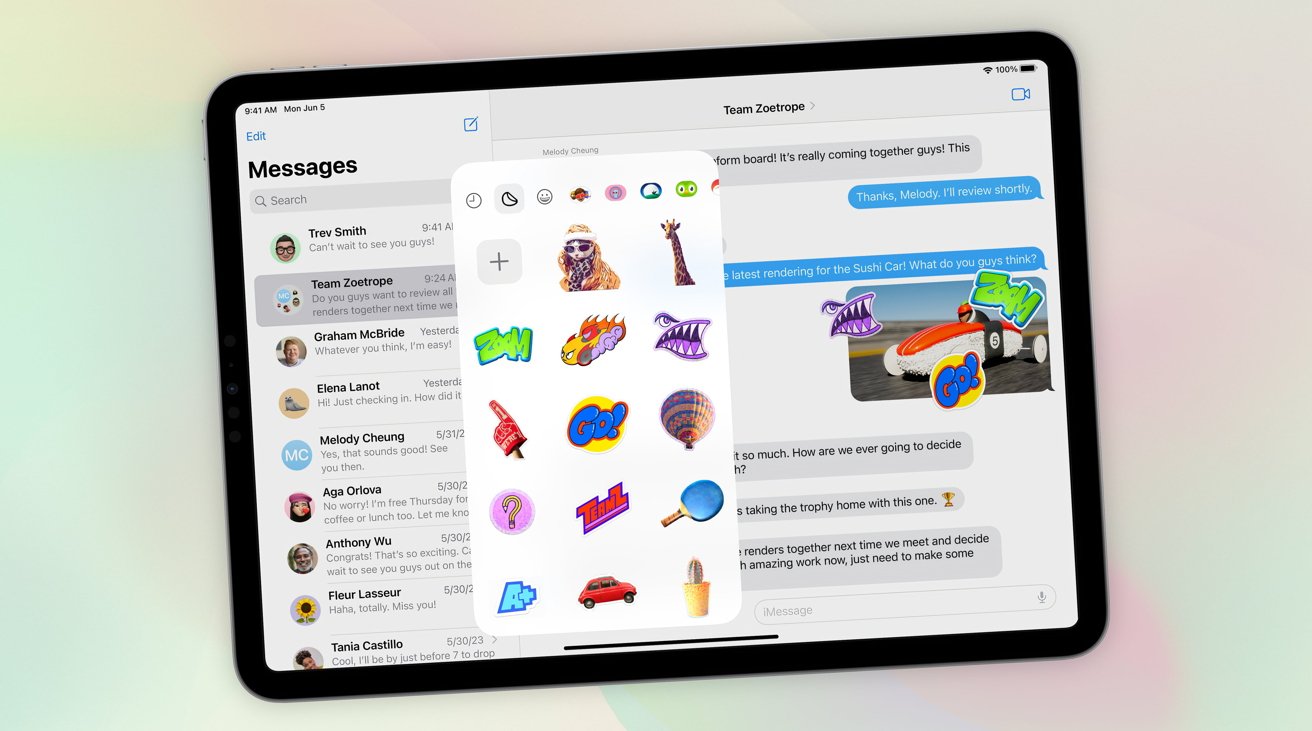
Using stickers in iPadOS
Apple added stickers to iOS and iPadOS years ago, allowing you to add small images to Messages, Mail, Notes, and other apps.
It's easy to use the Photos app in iOS and iPadOS to turn any stored image into a sticker for later use. You can even apply built-in effects to your images when you store them as stickers.
How to make stickers from Photos: Getting Started
To turn any image stored in the Photos app in iOS or iPadOS into a sticker, first open the Photos app by tapping it on your iOS or iPadOS device.
Once in Photos, tap any stored image to open it in full-screen.
Next, press quickly on a part of the image you want to turn into a sticker. Don't press and hold, just tap and hold the subject in the image very briefly, then let go.
This displays a hidden menu with an Add Sticker item in it:
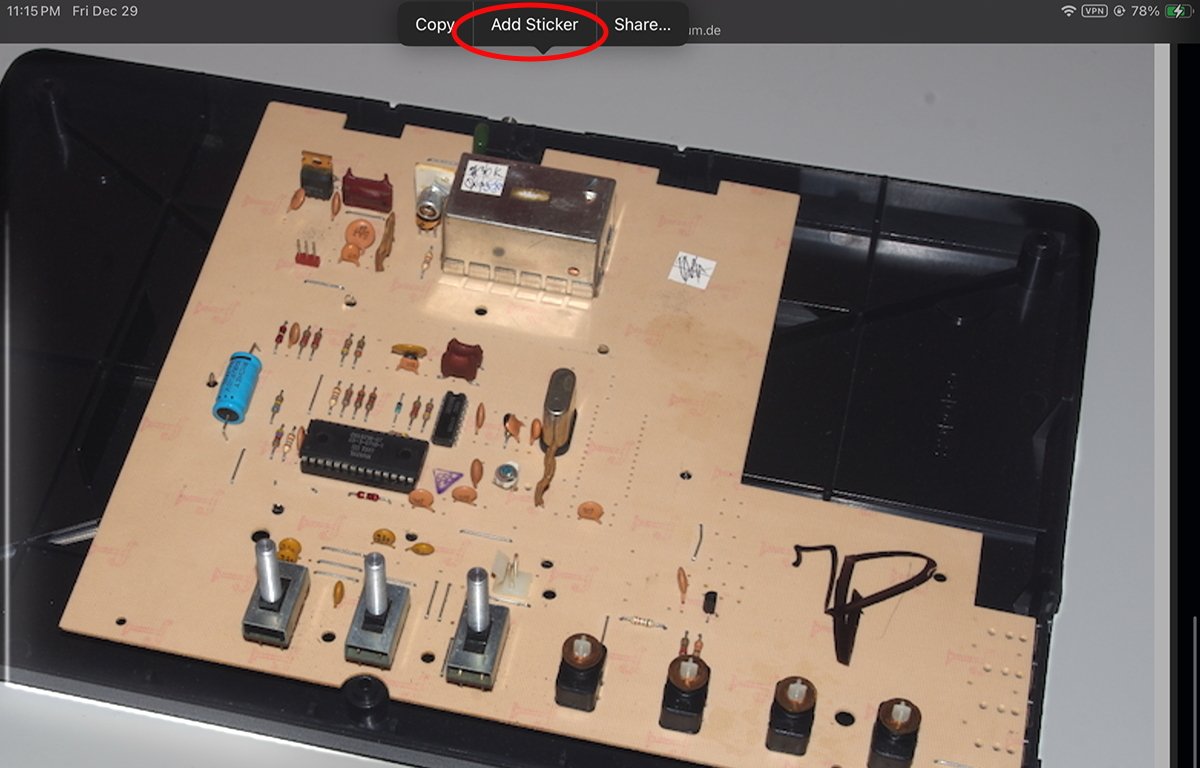
Select "Add Sticker".
Tap Add Sticker and the part of the image you tapped is added to the sticker library. iOS is smart enough to know how to isolate just the image subject.
Using Add Sticker is cool because you can use it to quickly make stickers from your images. For example, you could tap a person's face in a photo and save just their head as a sticker for later use.
Modifying stickers
Once you store one or more stickers in the stickers library, iOS displays it in the stickers panel with all your other custom stickers. In this sheet, you can later edit them.
After it adds the new sticker, iOS also automatically displays another popup menu containing three items: Rearrange, Add Effect, Delete.
If you tap Rearrange you can press and drag stickers to reorder them in the sheet.
If you tap Add Effect you can choose from any of the built-in iOS effects to apply to the sticker you previously selected:
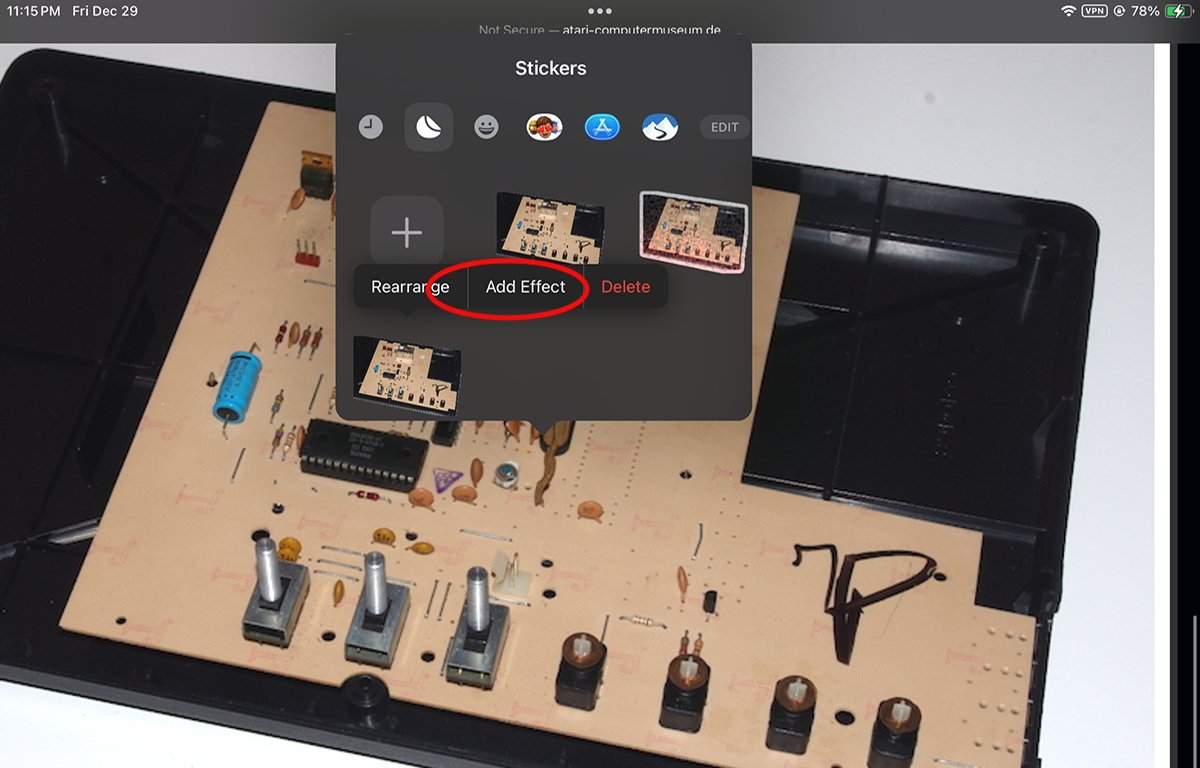
Select "Add Effect" to add a preset image effect to your sticker.
Tap an effect at the bottom of the effect sheet to add it to the sticker. The sticker is automatically saved with the new effect.
Tap Done when you're done editing stickers.
If you tap Delete from the popup menu, the selected sticker is removed from the library.
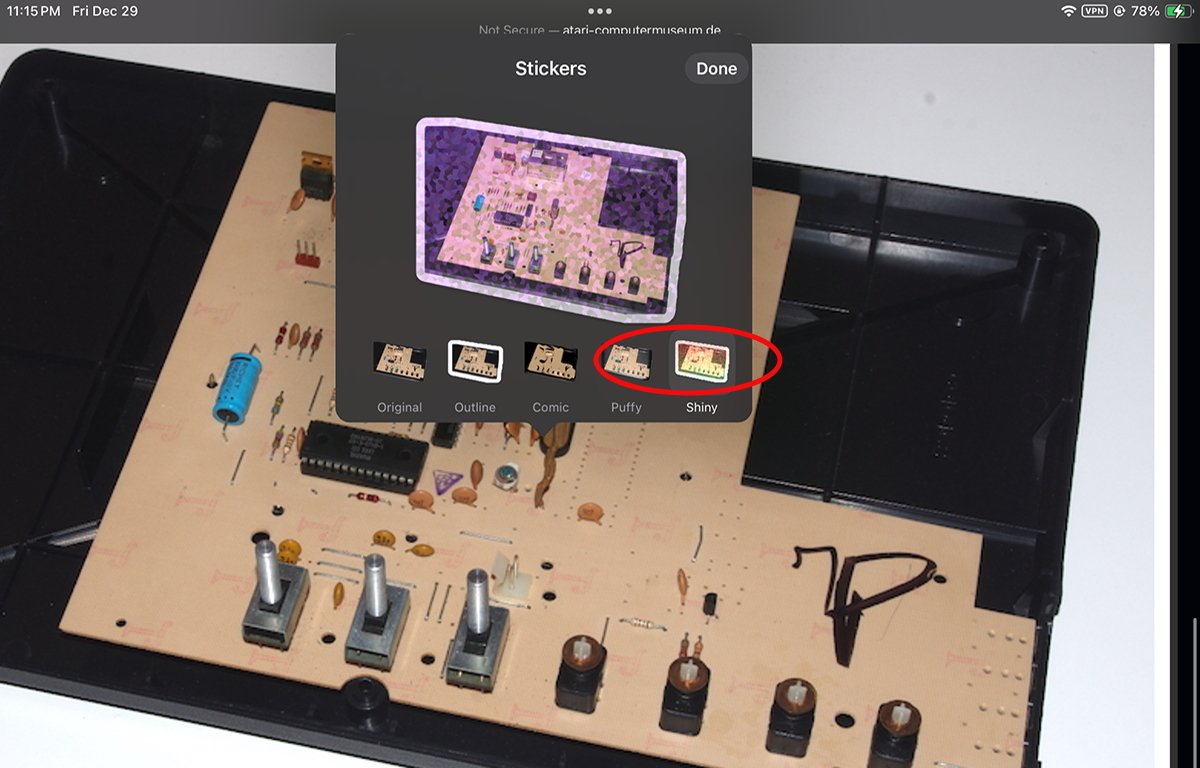
Choose an effect from the list at the bottom.
Choosing sticker apps
In the sticker sheet, if you scroll the list of app icons at the top of the sheet all the way to the left, you'll notice an Edit button. If you tap the edit button, you get an app editor sheet that allows you to enable or disable which apps can use stickers.
Tapping the Edit button in this sheet presents on/off controls for each app in the app list. Using these controls you can enable or disable which apps can use stickers.
Tap the Done button to return to the stickers sheet.
Tap anywhere else in the Photos app interface to dismiss the stickers sheet and return to normal Photos operation.
Stickers is an easy and fun way to add a little flair to your communications. Once you learn how to make stickers in Photos, you'll find yourself making custom ones frequently.
Apple has a page titled Make stickers from your photos in the iPhone and iPad user guides which detail how to make stickers on your iOS and iPadOS devices.
Read on AppleInsider