How to use Check In for home, different locations, and with timers

Check In is a great way to notify a family member or friend that you arrived at your destination safely, but it can also be helpful in other scenarios. Here's how to use Check In for alternative uses in iOS 17.
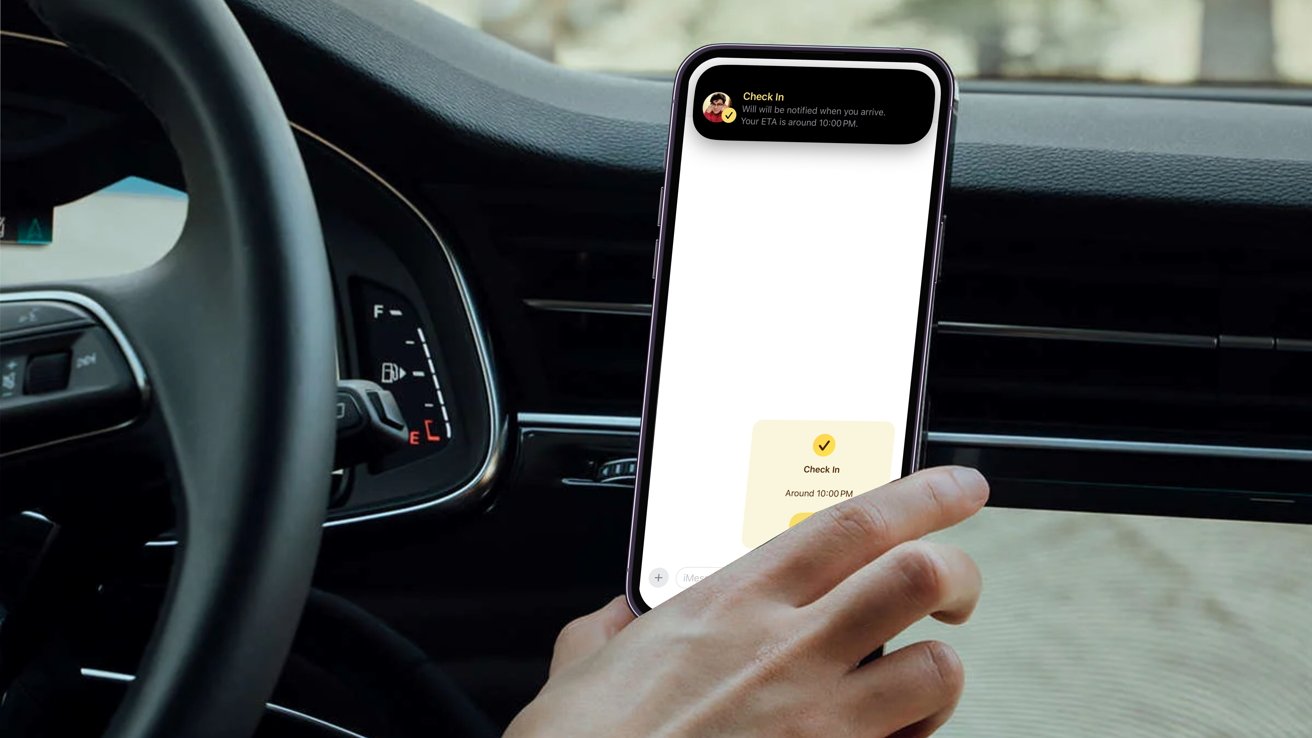
Check In being sent via iMessage while showing notification through the Dynamic Island
When activated, Check In will automatically notify a friend that your iPhone has arrived, and you can choose what details they can see if you don't complete your Check In. Similarly, if a friend sends you a Check In but their iPhone hasn't arrived as expected, you can view their location, battery percentage, cellular signal, and more.
However, the feature also has other uses, such as a timer to notify a loved one of your safety when meeting someone new. You can also use it to inform a recipient of your arrival without using ETA in Maps if you already know the route.
As primarily marketed, Check In is for when you arrive home, but it's also beneficial in other scenarios. Digging deeper into its menu and customization options will open up new uses you may not have thought of previously.
How to let someone know you arrived at your destination
Letting someone know you arrived safely to your destination is the most commonly used scenario for Check In, and it's simple to enable. Here's how to set it up before starting your next journey.
- Open Messages
- Go into the conversation with the person you want to send the Check In to
- Tap on the plus (+) icon next to the message field
- Tap on Check In
- Tap Edit at the bottom of the prompt
- Input the destination you are going towards
- Select Done in the upper right corner and send the Check In
When inputting the address you are heading towards, you can choose the form of transportation you are taking -- whether it's driving, mass transit, or walking. Selecting the one you are using is essential so your device can accurately calculate how long it'll take you to arrive.
If you know you'll arrive a little later than Check In predicts, you can manually add additional time to the calculation. You can add an extra 15 minutes, 30 minutes, or an hour, which can also be removed after being set.
If you enter a recipient's location instead of your home address, it'll let them know you've arrived to meet them rather than when you've arrived home. This is great when you want to notify them of your arrival without sending an ETA in Maps.
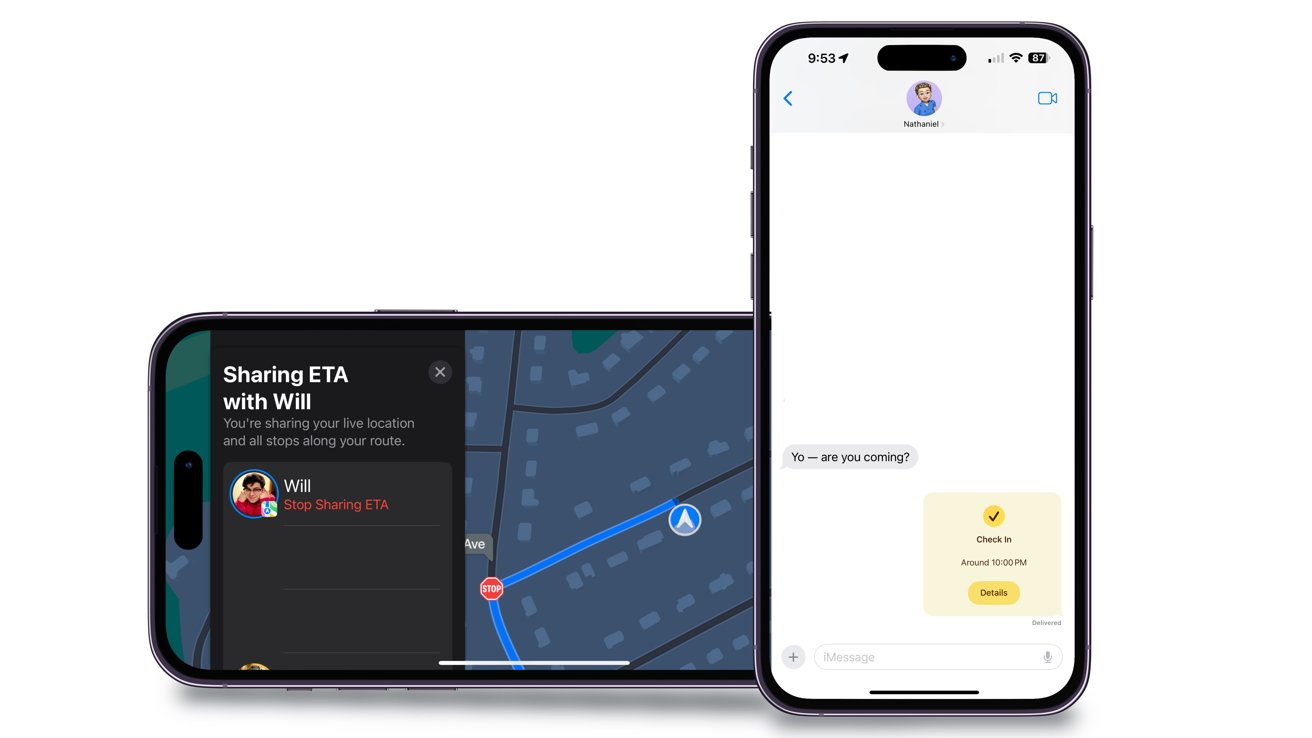
ETA being used in Maps vs. using Check In in iMessage
Check Ins can only be sent to individual people, not within group chats, and you can only have one active at a time. If you want additional people to know you've arrived at your location, use ETA in Maps.
How to send a Check In timer
Check Ins don't only have to be used for sending location-based alerts; they can also be sent after a set amount of time. This is great when you're in an unfamiliar location or meeting someone new, and your loved one wants to ensure your safety.
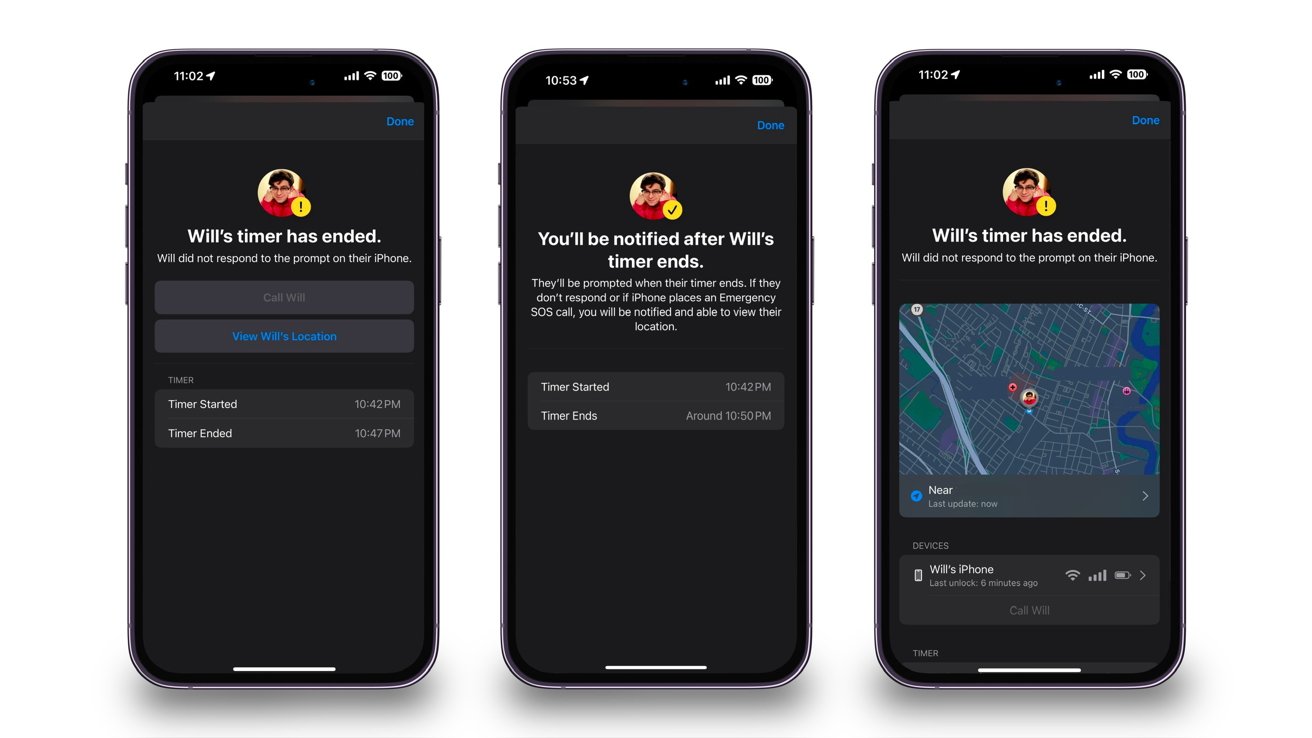
You'll be notified multiple times when the timer is nearing completion before it does. Once time is up, you'll have to dismiss the Check In manually, or the recipient will be notified that you didn't respond.
Sending a Check In for when the pre-set timer is done
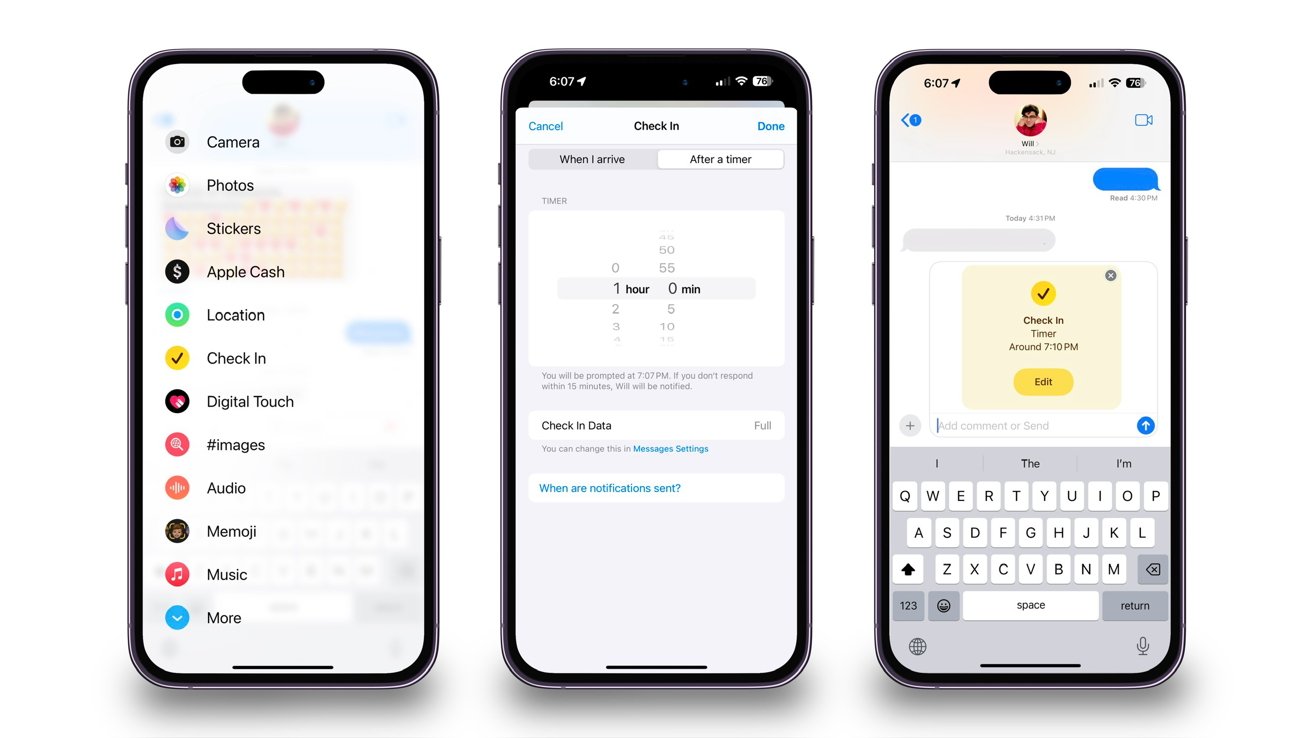
Here's how to switch and send a Check In timer to a friend or family member.
- Open Messages
- Go into the conversation with the person you want to send the Check In to
- Tap on the plus (+) icon next to the message field
- Tap on Check In
- Tap Edit at the bottom of the prompt
- Switch to "After a timer"
- Select the amount of time you want to pass before a notification is sent
Timer amounts can only be placed within five-minute intervals, meaning you cannot put it for 23 minutes, for example. So you can set the timer from five minutes to 23 hours and 55 minutes.
You will have 15 minutes to respond to the prompt. Once the timer is over, you can end the Check In altogether or add additional time and be prompted again afterward.
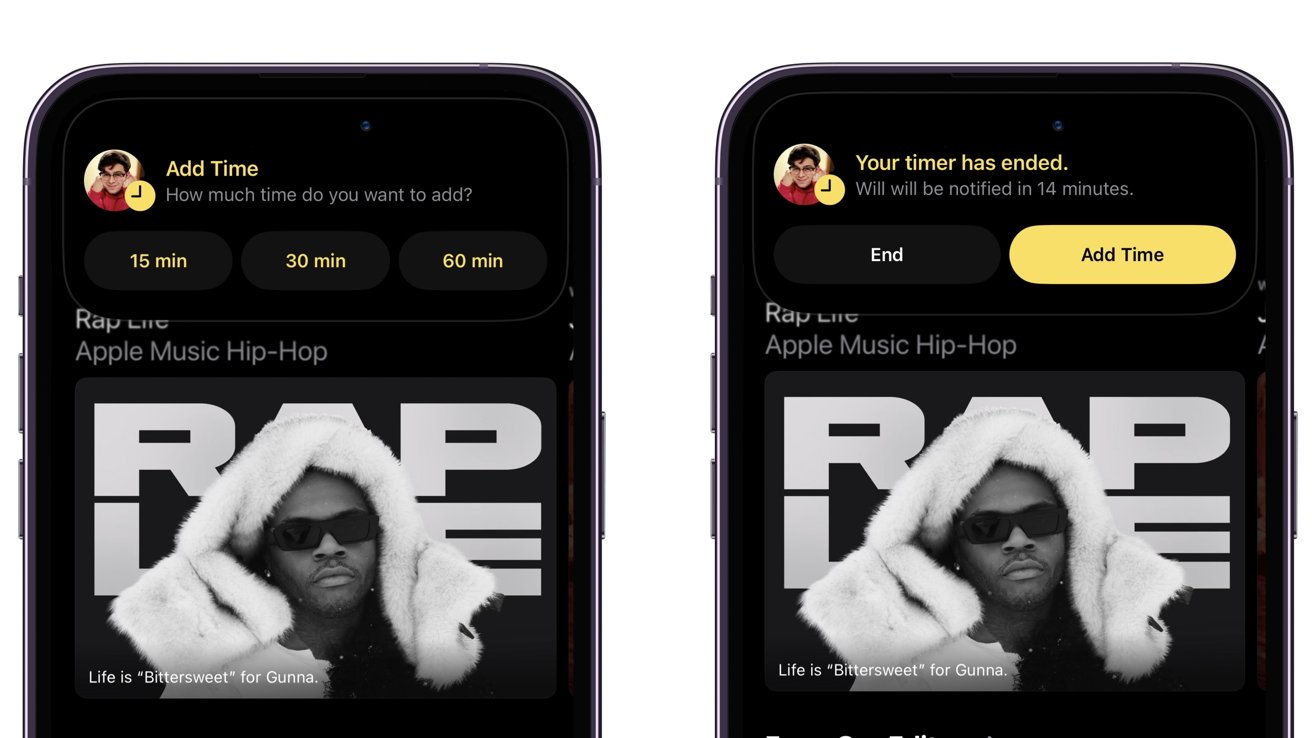
Adding time to Check In timer when it ends
If you don't respond to the prompt within 15 minutes, then the recipient will receive a notification and have access to the amount of information you granted them initially.
How to change the amount of information you grant the recipient
Whether you're headed back home or to a different location, if you don't respond to a Check In timer or arrive at your destination on time, a notification will be sent to the recipient. This will allow them to access the information you initially granted them.
Options to choose from when the timer ends without confirmation to the Check In
The information they can access can range from Limited to Full. And depending on which one you choose will determine how much information the recipient gets.
Limited will let the recipient see your most recent location, battery, and network signal details. These details will apply to both your iPhone and Apple Watch.
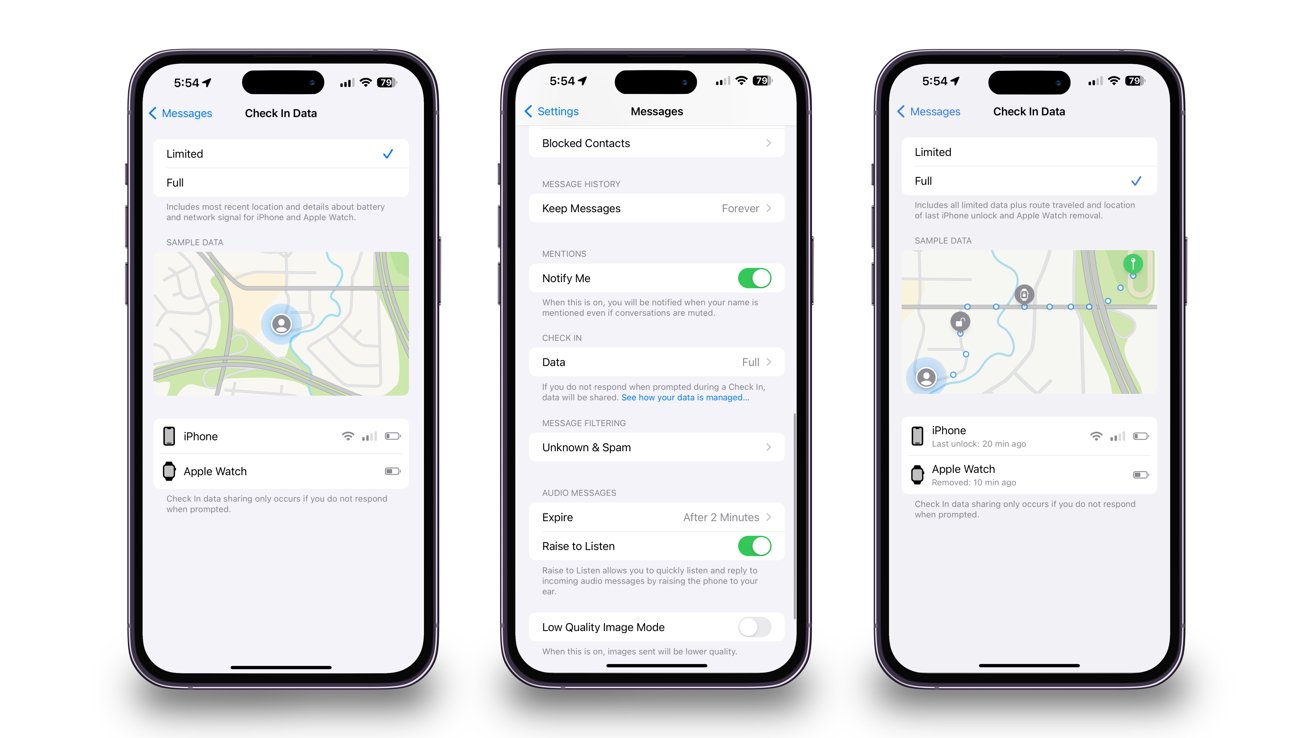
Options in Messages settings for how much information is given to recipient
Full information will give the same information plus the route you recently traveled and the location of when you last unlocked your iPhone or took your Apple Watch off.
Please note that these settings will apply to every Check In you send, no matter who it's to. However, you can change how much information is accessible.
Here's how to change how much information you'll grant if you don't respond to a Check In notification.
- Open Settings
- Scroll down to Messages and tap on it
- Scroll down to the Data option under the Check In section
- Select either Limited or Full
When you send a Check In, your chosen option will be attached. However, you can change it at any time.
When customizing the Check In, you can also be directed to the Check In setting by tapping "Messages Settings" under Check In Data.
Checking in on one another
Check In is an excellent way to inform others that you've arrived at your end location or are delayed due to traffic. It'll also send vital information if you don't respond to Check In notifications.
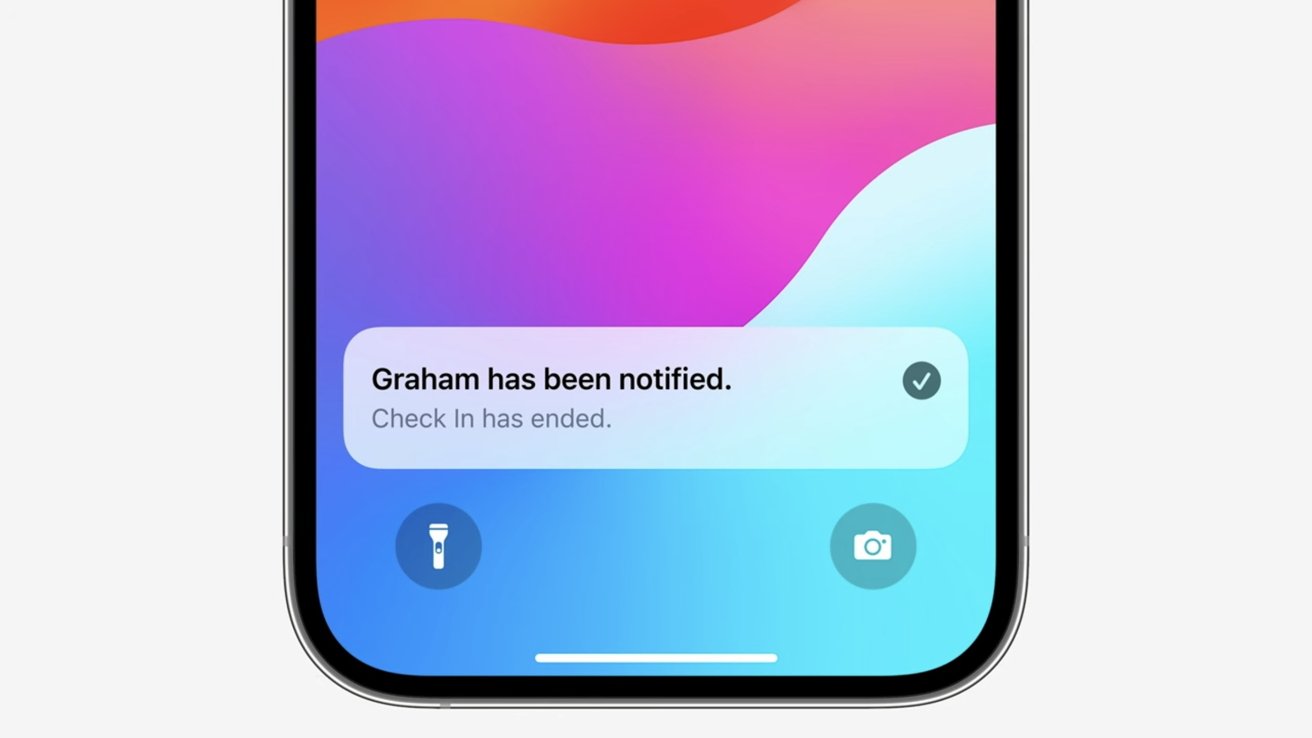
Check In notification being sent to the recipient to let them know the send has ended the Check In
It's a basic feature that replaces typing a text message or calling someone to check in with them. It automatically does all the necessary work and informs you and the recipient when you check in.
You must be on an iPhone running iOS 17 or later to use Check In. Additionally, both devices must run at least iOS 17 to send Check Ins to one another.
Read on AppleInsider