How to transfer files between two Macs with a cable

Even with AirDrop's convenience for Mac users, transferring large files or navigating software incompatibilities often requires a more robust solution. Here are some options for using a cable.
How to transfer files between two Macs using a cable
Apple equips you with several intuitive methods for transferring files between Macs. These include Ethernet for straightforward wired connections, Target Disk Mode for transforming one Mac into an external hard drive accessible by another, and Thunderbolt networking for high-speed data transfer.
Using a cable to transfer files between Macs often proves much faster and more reliable than wireless alternatives like AirDrop, particularly for large or numerous files. This method shines in scenarios where speed is critical, and data volume is substantial, offering a streamlined solution that enhances your workflow.
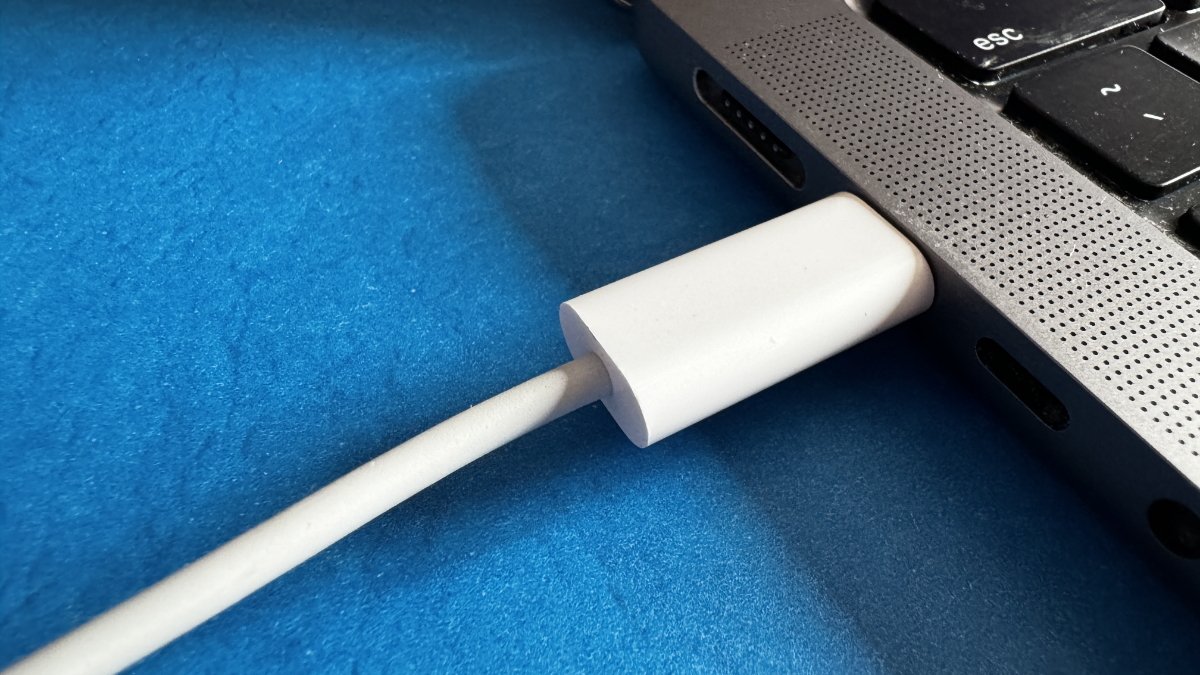
Mac File Sharing via Thunderbolt Networking
For fast data transfer, consider using Thunderbolt networking. It allows for high-speed data transmission between two Macs equipped with USB-C Thunderbolt ports. Thunderbolt networking turns the ports into a high-speed bridge, enabling fast file transfers that surpass traditional Wi-Fi or Ethernet speeds.
Thunderbolt ports are versatile, supporting data transfer and video output and charging through the same cable, simplifying connections between devices. Those with Apple Silicon, Thunderbolt 3 (USB-C), and Thunderbolt 4 (USB-C) ports are common for newer Macs. These ports ensure compatibility with devices beyond data transfer, including external displays and storage devices.
- Open Settings on both Macs, and navigate to the Network section.
- Select Thunderbolt Bridge and click 'OK' if a New Interface Detected pop-up appears.
- On one Mac, go to the Thunderbolt Bridge section and choose your Mac from the service list.
- To set an IP address, click TCP/IP, select Manually in the 'Configure IPv4' dropdown.
- Enter the IPv4 address, subnet mask, and router address as needed.
- Click OK.
For most people, Thunderbolt networking stands out as the best option. Its high-speed data transmission capabilities make it ideal for many tasks, from transferring large files to ensuring smooth collaboration on bandwidth-intensive projects.
Thunderbolt networking is faster than traditional Wi-Fi or Ethernet connections and offers the simplicity of plug-and-play with modern Macs.
Mac File Sharing via Target Disk Mode
If you have a pair of Mac computers equipped with USB, USB-C, or Thunderbolt ports, link them so that one Mac shows up as an external hard drive on the second Mac. This functionality is known as target disk mode.
However, it's important to note that if any Macs are running macOS 11 or newer versions, the connection must be established using a Thunderbolt cable.
- Connect the two computers using a compatible USB, USB-C, or Thunderbolt cable.
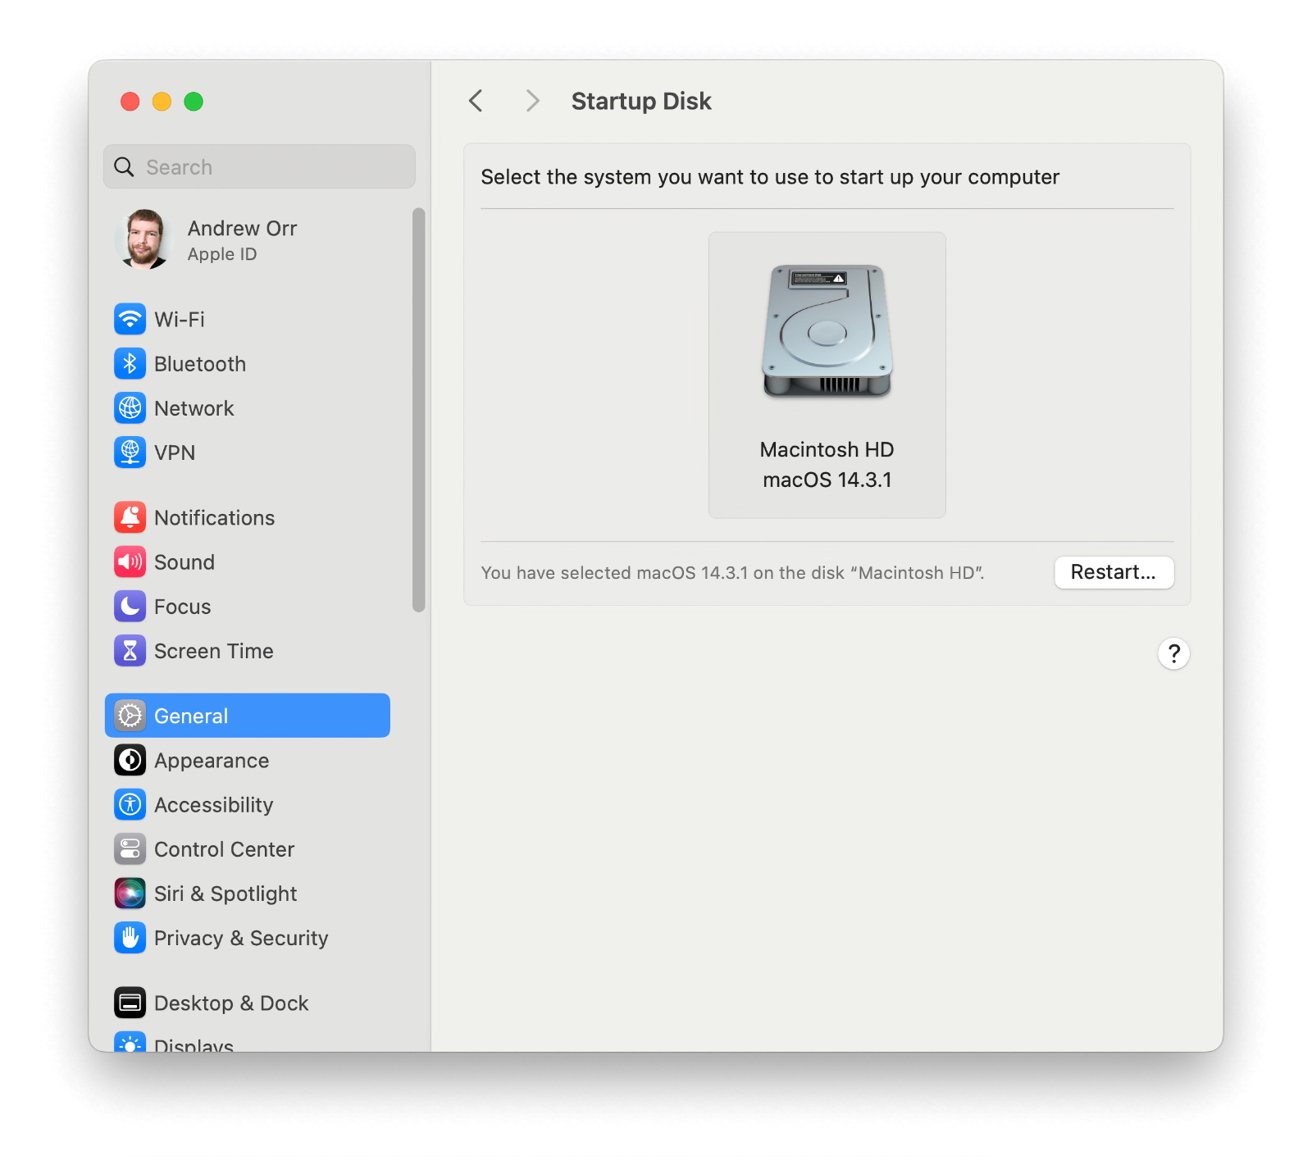
- On the Mac to be used in Target Disk Mode, go to Startup Disk settings and choose Restart in Target Disk Mode.
- After restarting, the other Mac will show the disk icon of the Mac in Target Disk Mode.
- To safely disconnect, drag the disk icon to the Trash on the desktop to avoid data corruption.
- Turn off the Mac in Target Disk Mode using its power button, then disconnect the cable.
The process differs if one Mac has an Apple Silicon chip and the other has an Intel chip. You can link a Mac equipped with Apple Silicon to another Mac, enabling the Mac with Apple silicon to function as an external hard drive.
Target Disk Mode
Despite its utility, the need for compatible hardware and the process's relative complexity position Target Disk Mode as a specialized tool. It shines when one machine may not be operational or when users need to access a Mac's file system directly without booting the operating system.
- Use an appropriate cable to connect the Macs.
- Shut down the Apple Silicon Mac via the Apple menu.
- Hold the power button on the Apple Silicon Mac until Loading startup options is displayed.
- Choose Options > Continue.
- Select a startup disk and enter an administrator password if needed to boot into Recovery Mode.
- In Recovery Mode, go to Utilities > Share Disk and begin sharing by selecting the desired disk or volume.
- On the other Mac, access the shared disk via Finder's Network location.
- Use Connect As and choose Guest to start the connection.
- To end sharing, on the Apple Silicon Mac, choose Stop Sharing.
Mac File Sharing via Ethernet
Mac File Sharing via Ethernet, once a staple for direct and stable connections, has become the last resort for file transfers between Macs. Modern MacBooks have phased out Ethernet ports in favor of a slimmer design, pushing users towards wireless connections or adapters.
Apple stopped including Ethernet ports in its MacBook line starting with the MacBook Air, which was introduced in 2008 as the first MacBook without an Ethernet port. Subsequently, other MacBook models, including the MacBook Pro, followed suit over the years as Apple shifted towards thinner designs and emphasized wireless connectivity.
By 2016, with the introduction of the MacBook Pro models featuring only USB-C ports, Ethernet ports were phased out across the entire MacBook lineup.
File Sharing
To connect two Mac computers for file sharing directly, you need to follow a specific set of steps that involves using an Ethernet cable and configuring sharing settings on both machines. The connecting process ensures a secure and efficient way to access files between two Macs without additional hardware or complicated network configurations.
- Connect the Macs with an Ethernet cable to establish a network link.
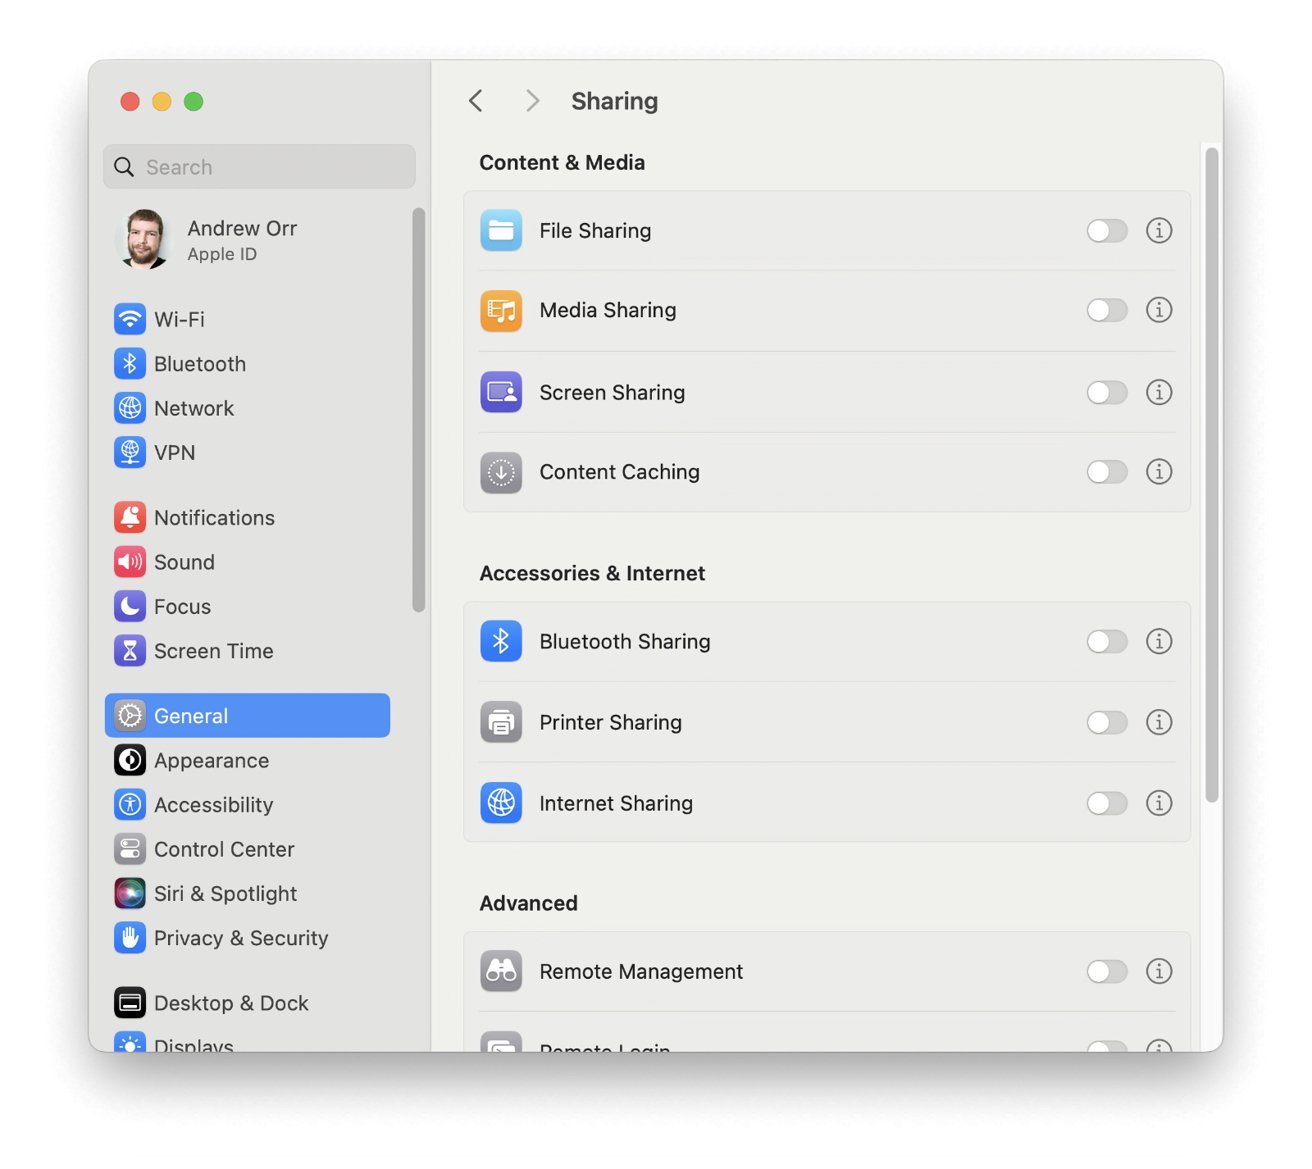
- Enable Sharing on each Mac via Settings > General > Sharing.
- Note each computer's name from the Sharing settings.
- On one Mac, open Finder, go to the Go menu, select Connect to Server, then click Browse to locate the other Mac.
- Double-click the other Mac's name to connect and enter the password when prompted.
Transferring files between two Macs has evolved to be both streamlined and versatile, accommodating various user preferences and technological setups. Whether through an Ethernet cable, Target Disk Mode, or the advanced speed of Thunderbolt networking, Apple provides a range of options to suit different needs.
Read on AppleInsider
Comments
But I was disappointed to find that you can't do a macOS install onto a Target-Disk-Mode Mac. Pity.