How to master the camera on iPhone 16 Pro & iPhone 16 Pro Max

Apple's latest iPhones pack impressive hardware and software to capture photo and video anywhere. Here's how you can make the most of it by mastering the Camera app on iPhone 16 Pro and iPhone 16 Pro Max.
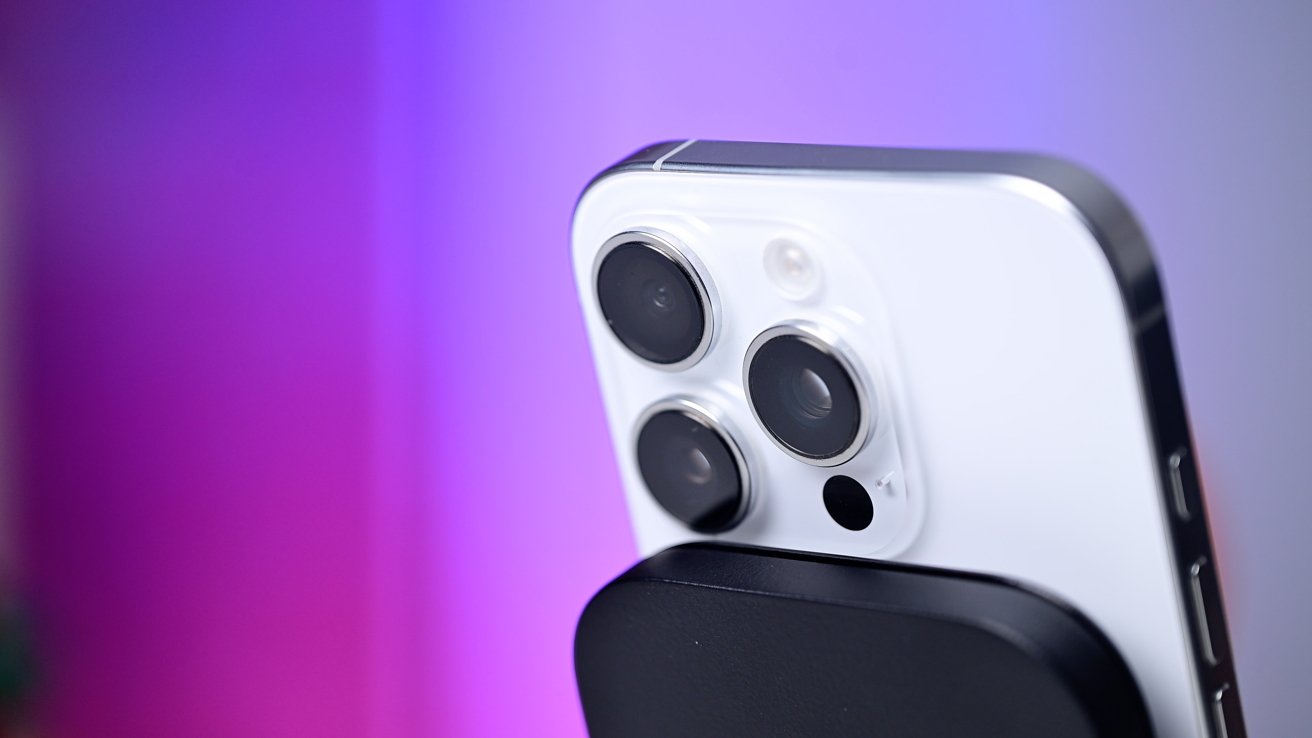
The new iPhone 16 Pro cameras
In 2024, both pro phone cameras have feature parity. They have identical setups, unlike with the iPhone 15 Pro that lacked the 5X zoom the iPhone 15 Pro Max had.
There is a 48MP ultra wide lens, a 48MP primary lens, and a 12MP 5X telephoto lens. It's easier than ever to choose a third-party app, but if you stick with the stock app, here is how to master it.

Opening the camera app
How to just open the Camera without customization and relying on defaults is rudimentary. But, there are so many options now that it's still worth going over.
Of course you can tap on the Camera app icon, wherever you decide to place it on your Home Screen. If you long-press the icon, you have additional choices to jump into various modes of the Camera app.
Beyond that, you have several options from the Lock Screen. You can swipe to the left to quickly access the Camera app or put a shortcut widget on the bottom of the screen, or below the time in either lower corner.
The dedicated Camera Control can launch the app too. Just to note, it will require two presses from the Lock Screen. One press wakes the phone, and the second launches the app.
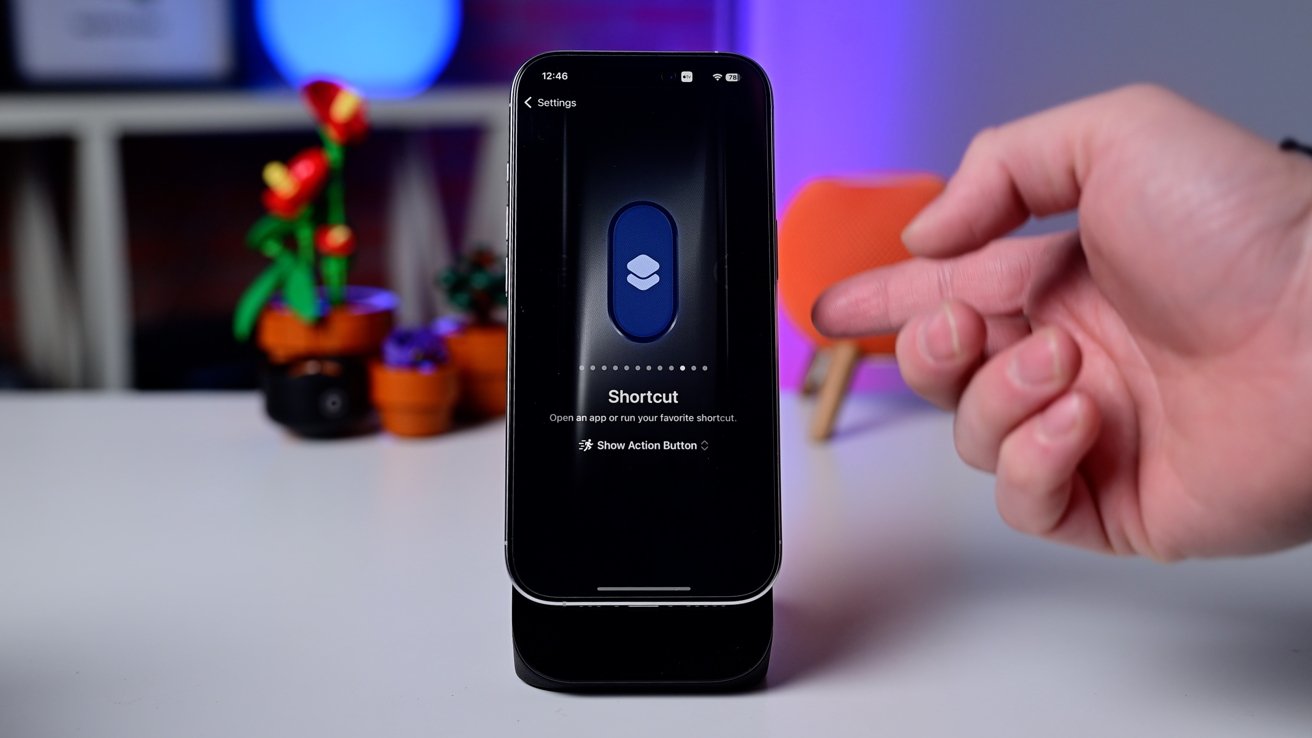
The Action button can be configured to open the Camera app
Camera is one of several choices you can assign to the Action Button to. Finally, a Camera control can be added to the updated Control Center.
Choose the one of these -- or multiple of these -- based on your personal preferences and use cases.
Taking photos and video
Sticking with the simple tasks, you can take a photo by giving a tap to the shutter button in the app. That's the most straight-forward way.
If you tap and hold on the shutter button, you activate what is called QuickTake. QuickTake will start recording a video with that long press.
So tap for photo, long hold for video. Video stops recording the you release your finger, unless you drag your finger to the right.
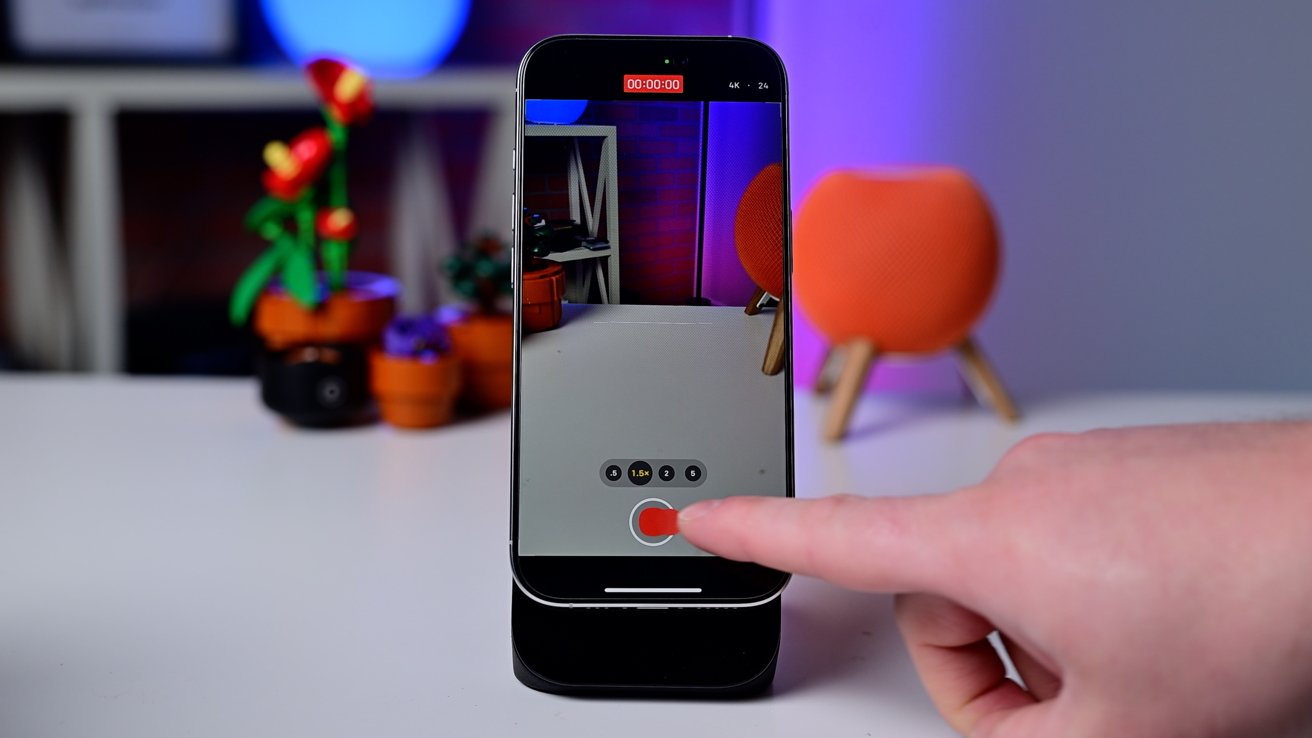
By dragging the shutter to the right, you can lock it into video mode using QuickTake
Dragging your finger to the right locks it into video mode. At any time to stop recording, tap the square that replaced the shutter button.
QuickTake can also shoot burst photos. Press and drag immediately to the left and you'll start recording burst images until you release.
Another popular way to take pictures or videos is by using the volume buttons. Press either of them while in the camera app to take a photo.
Volume buttons can be used to take photos
Similar to QuickTake, holding down one of the buttons will start to record a video. In the Settings app, you can opt to set the volume up button to start capturing burst photos, which we'd recommend.
The last real way to take a photo or video is the new dedicated Camera Control. It's exclusive to the iPhone 16 line and does much more than just acting as a hardware shutter button.
Camera Control
To rehash, the Camera Control can be used to both quickly open the Camera app, as well as to take a photo. A quick press takes a photo but a hold will record a video.
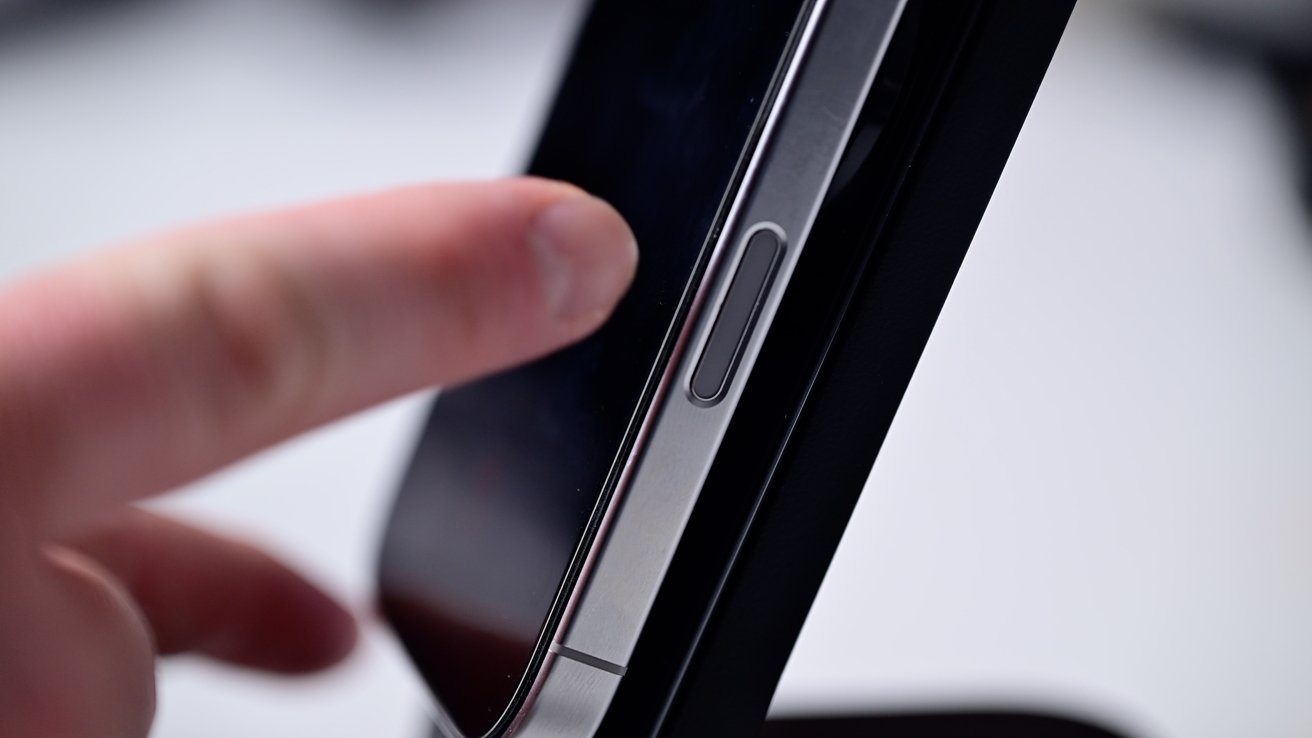
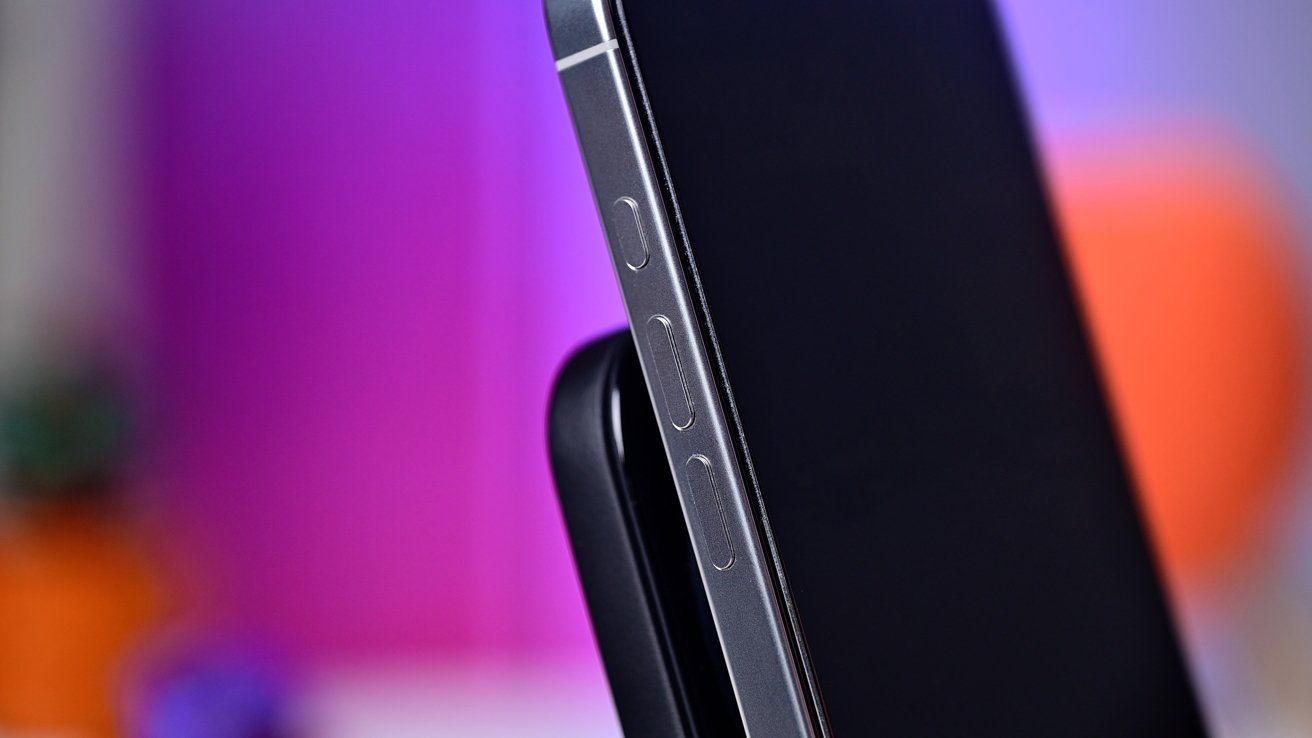
The Camera Control on the iPhone 16 series
This physical button is unique. While it still has a real mechanical mechanism under it, it's also a virtual button.
The top is touch and pressure sensitive. A half press can open up a tool tray with multiple camera functions that can be adjusted from the depth of a portrait shot to the exposure.
A light press brings up additional controls
We have a whole dedicated guide to using this button we encourage you to check out if you want to learn all the in and outs as well as what settings to change.
Camera app layout
Apple's stock Camera app is simply organized. Swipe left or right to change modes, which is set to photo by default.
The bottom has a prominent shutter button, shouldered by the recent gallery and the camera toggle. Above that are the various camera modes and the zoom levels.
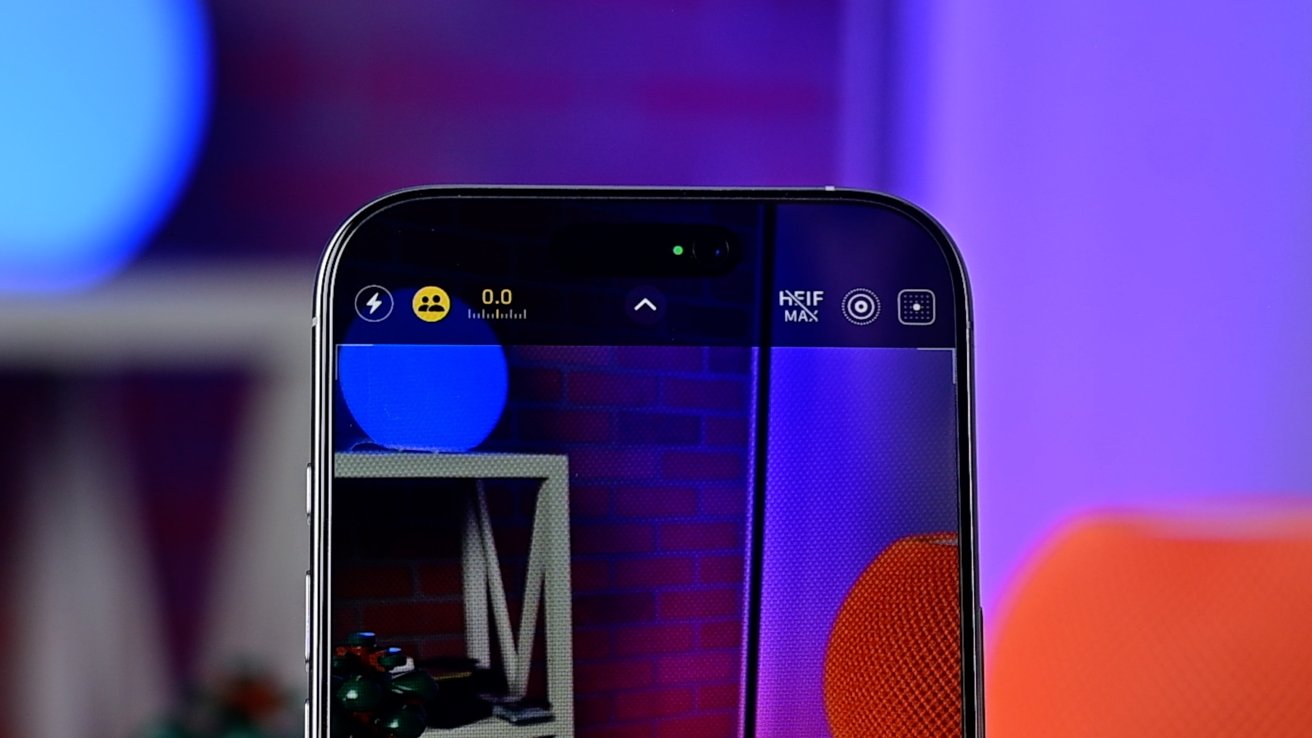
The top of the Camera app has several controls to toggle
On the top are several different controls. These controls change based on several factors including mode, lighting, and your personal settings.
Some of the default ones -- from left to right -- are flash, shared library toggle, exposure compensation, Live Photo toggle, and Photographic Styles.
The flash is an on/off toggle, but long pressing it gives you an additional choice of auto to select. Shared library lets you control where the photo is stored -- in your personal one or the shared.
Live Photos is similar to the flash in that you can long press it to set it to auto, on, or off. Photographic Styles have been revamped and we'll talk amore about them soon.
In the center of the top controls is an upward caret icon. Press it and a new tool tray will show at the bottom of the app, above the modes.
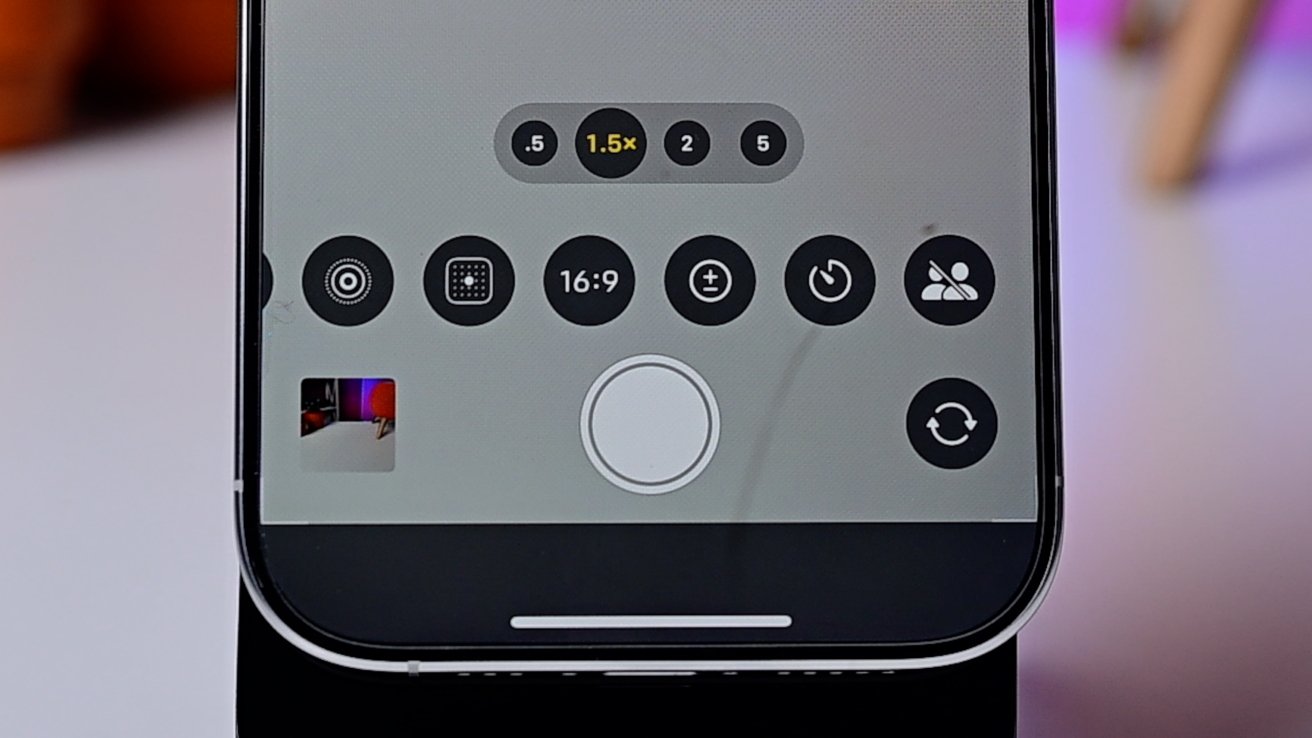
A hidden shelf at the bottom reveals more controls
Some of these are duplicates from the top bar, while others are new. Some, just give you more options.
You have the flash (auto, on, off), night mode (on, off, duration), Live Photo toggle, Photographic Styles, aspect ratio (4:3. Square, 16:9), exposure compensation, timer (off, 3s, 5s, 10s), and share library.
Two other controls to note. The night mode icon that appears in the tool tray will also appear in the top bar if the lighting is too dim.
If there is not enough light, it essentially needs to increase the shutter time. This allows more light to hit the sensor and to properly expose an image.
When it's on, the icon will turn yellow. If grey, it's off.
If you access it from the bottom tool tray, you can adjust the duration manually from 1 second all the way up to 30 seconds. The time available will automatically adjust, based on how much light there is and how stable the phone is.
When you shoot by hand and are moving around, a prolonged 30 second shutter won't work and it will need to be shorter. But if your phone is stable or on a tripod, up to 30 seconds will become available.
When your subject get close, macro mode enables
Macro mode works similarly. It only enables when it detects a subject getting close to the camera.
By default, macro mode automatically engages and disengages. If you turn on the toggle in the Camera settings, you can manually control this.
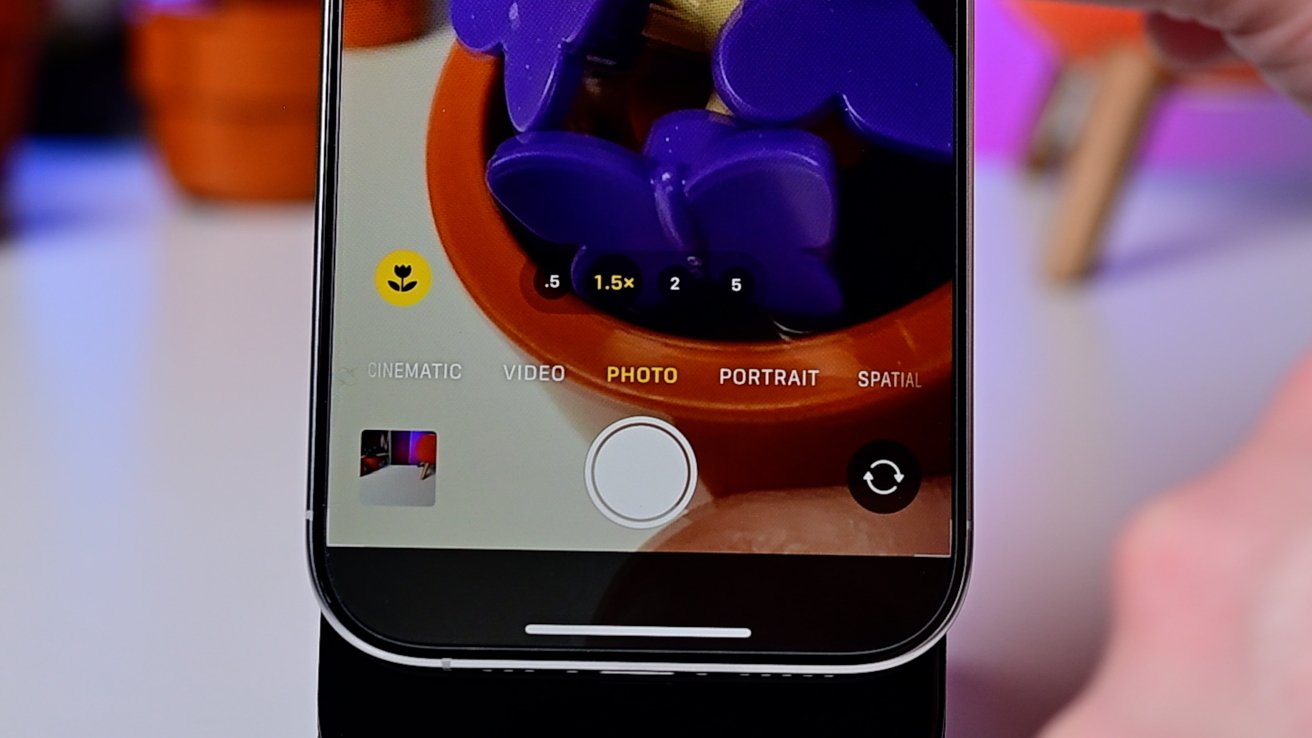
A flower icon will appear in the corner. Tap it to turn it on, which turns it yellow, and tap again to turn it off, turning it back to grey.
Controlling the zoom
When the time comes to move past all the controls and actually snap a photo, you may need to adjust the zoom level. Moving in or out to properly adjust the composition of your photo.
You can do so by pinching in or out on the display. This is fast, but often creates some degree of movement, making it not ideal for filming video.
There's also the Capture Control as an alternative. It's a bit smoother and allows for fine timing of the zoom by sliding your finger.
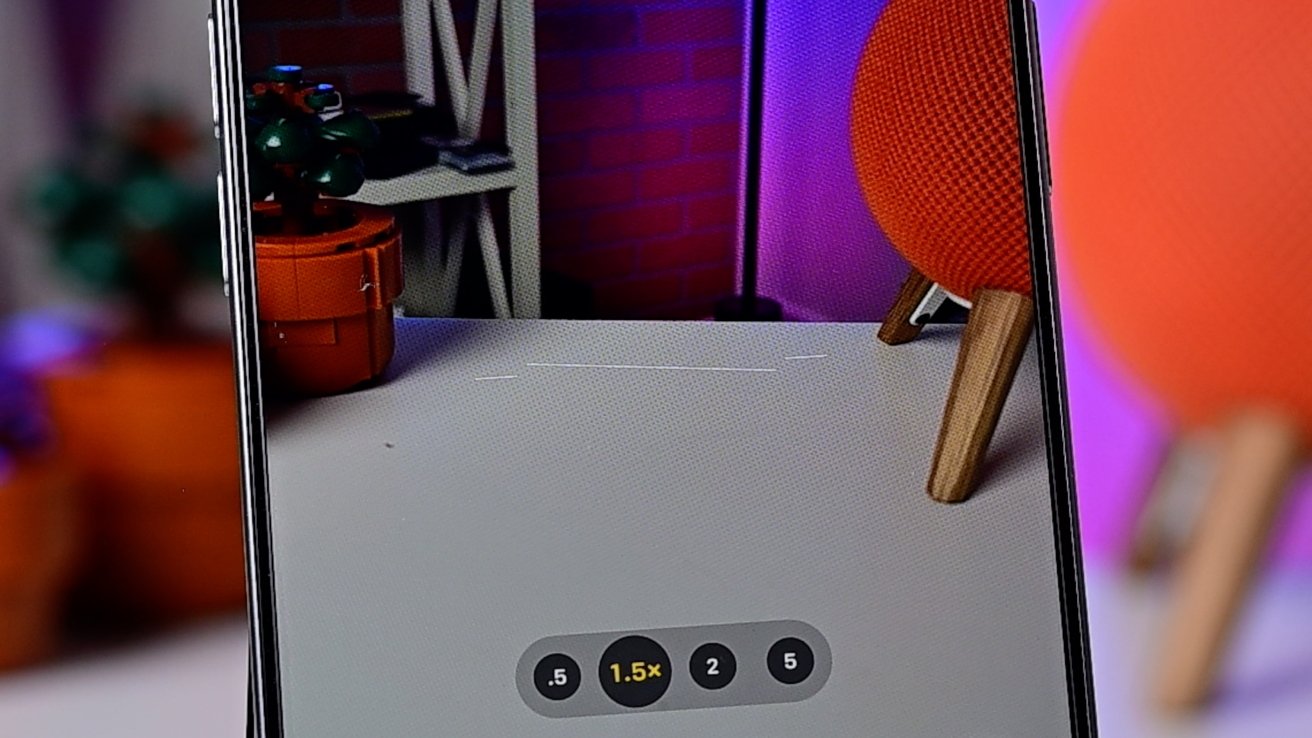
On-screen, you have options for .5X (ultra wide), 1X (wide), 2X (optical quality zoom), or 5X (tele). Tapping on the 1X button gives you bonus choices of 28mm 1.2X zoom, or 35mm 1.5X zoom to go with the 24mm 1X.
If you prefer the 28mm or 35mm, you can choose which is the default form the Settings app.
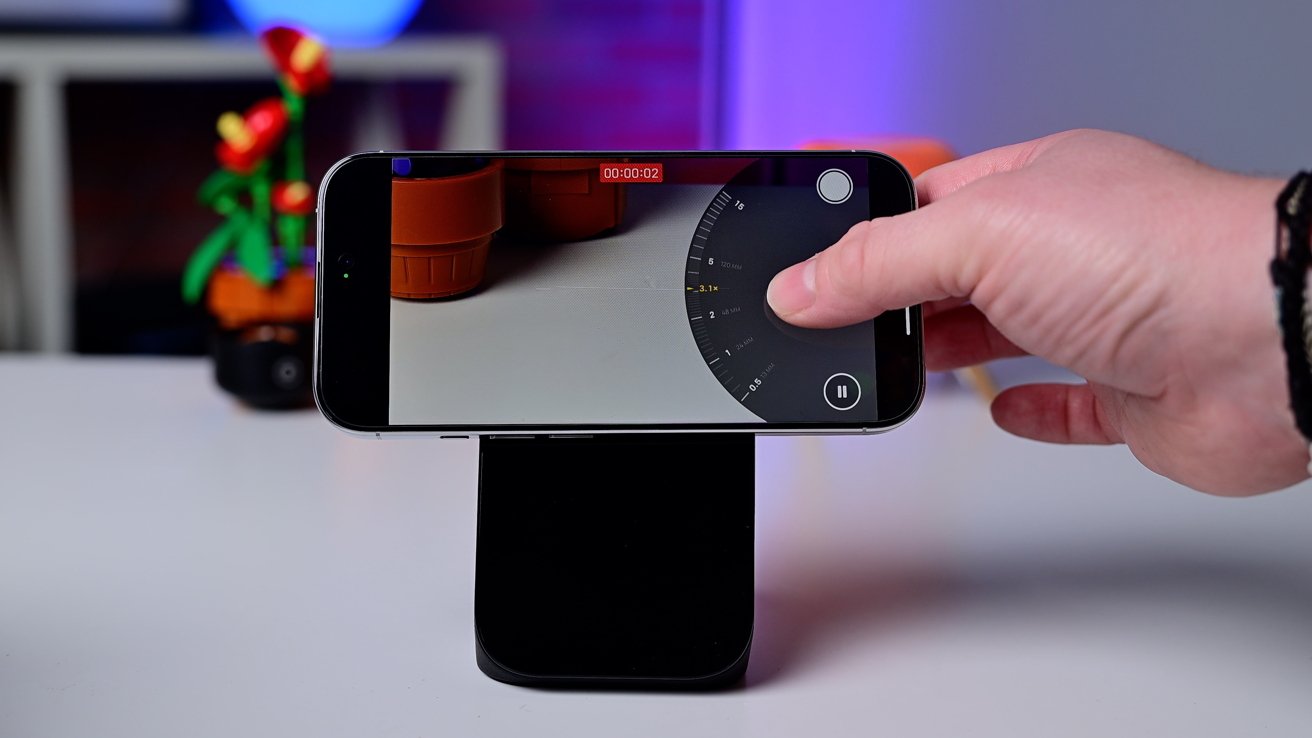
Sliding your finger on the zoom levels opens up an adjustment wheel
Our preferred way for the time being is opening up the zoom adjustment wheel. Just slide your finger on any of the zoom options.
A wheel appears, letting you continue sliding left and right to granularly zoom in or out. When you're done, release to let the wheel automatically hide or swipe it away.
Photographic Styles
Apple has released a wholly reworked tool for the iPhone 16 series. These next-generation Photographic Styles are much more powerful and there are more of them.
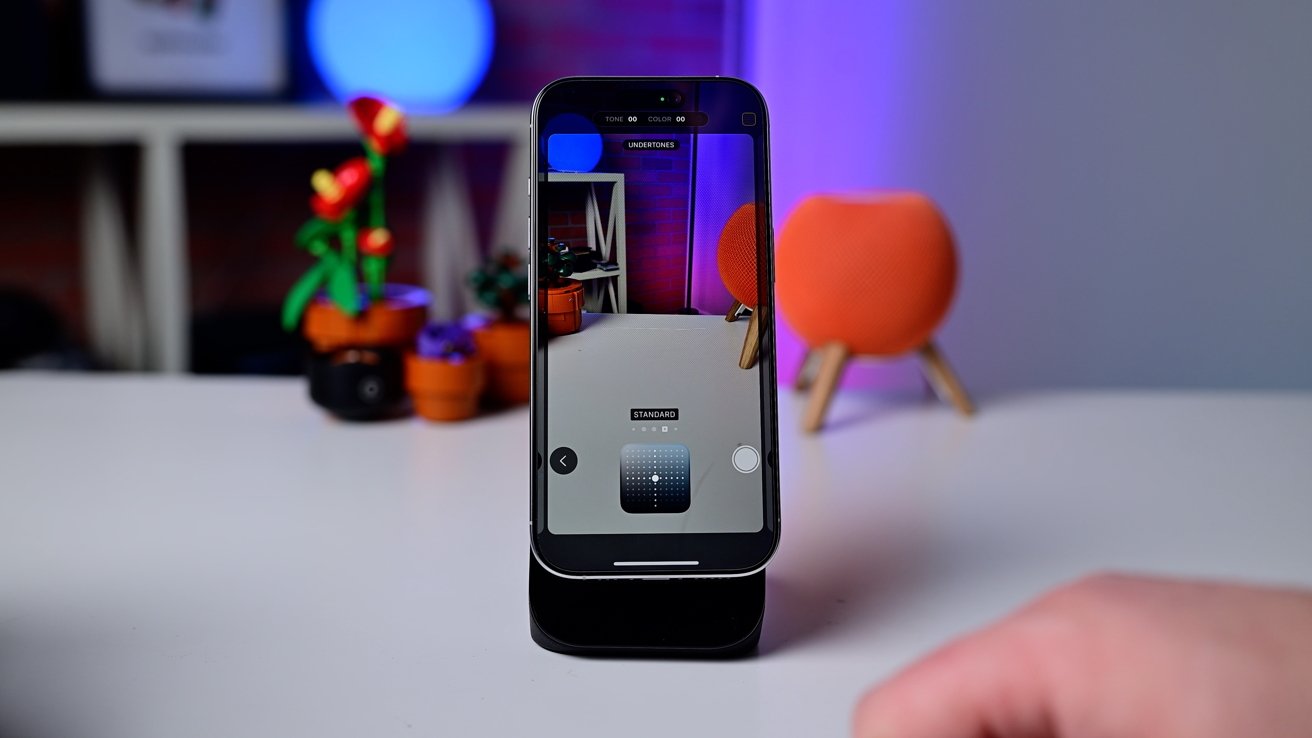
The new Photographic Styles offer granular control over your look
When you apply a filter to your photo, it applies that look over the entire image. Photograph Styles differ, because they apply to different elements of photo at the time of capture.
For example, applying different adjustments to shadows, highlights, the subject, and more. The iPhone 16 series though, captures this additional data, allowing the styles to be adjusted after capture.
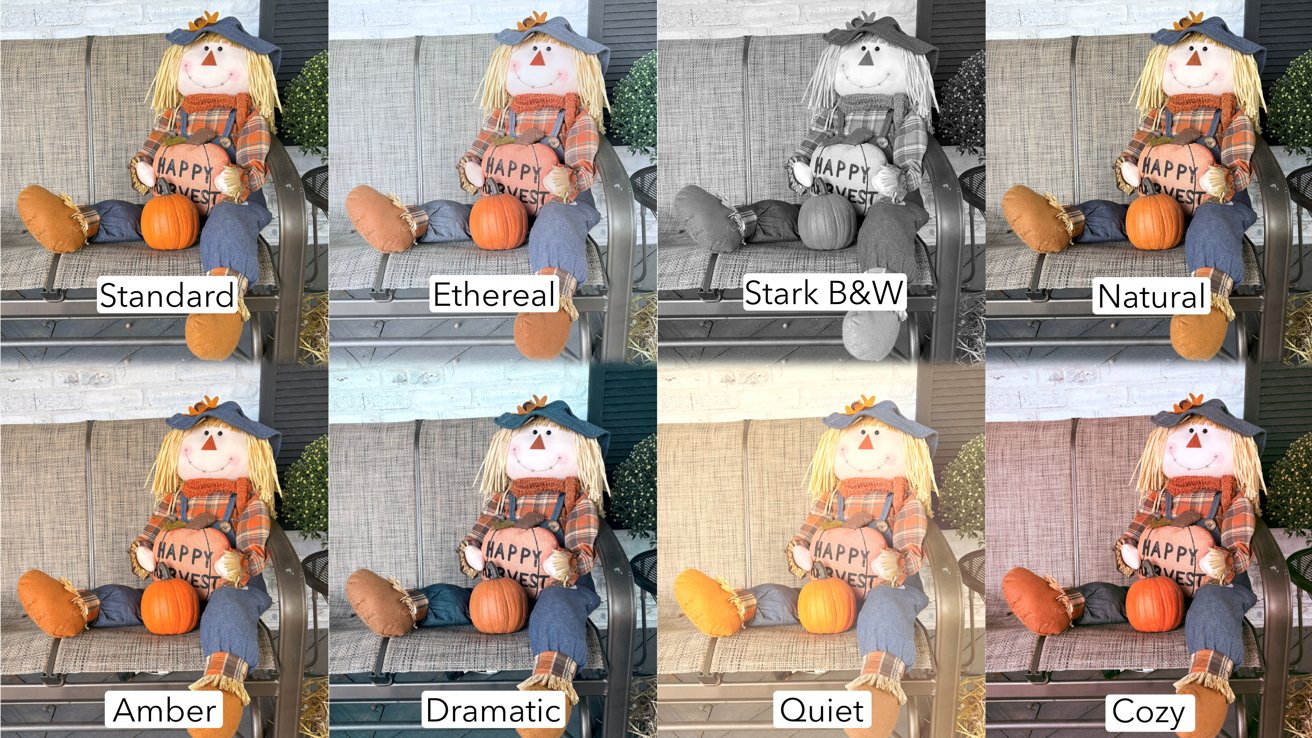
Here are eight different colors of the Photographic Styles
Whether you are changing them before or after, the interface is similar. You can swipe left and right to move between styles or adjust them by moving them around the two-directional pad.
Up and down on the pad adjusts the tone while left and right adjusts the color. You can see the values at the top and there is also a reset button to go back to the default values.
Photo modes
On iPhone 16 Pro and iPhone 16 Pro Max, alongside basic photo mode, you also have portrait, spatial, and pano.
Pano creates panoramic images, fantastic for landscapes and nature. You hit the shutter and move your phone, capturing the whole image.
When we take panoramic shots handheld, we recommend keeping your arm steady and swiveling from the hips. It creates a more stable image.
Another helpful tip is you can change the orientation. By tapping the arrow, you can change the direction for moving left to right to right to left.
Spatial mode builds in the prior spatial video capture on the iPhone 15 Pro and iPhone 15 Pro Max. Spatial mode now shoots both photos and video.
Photos can capture both motion data and depth data for combination Live Photos and Portrait photos
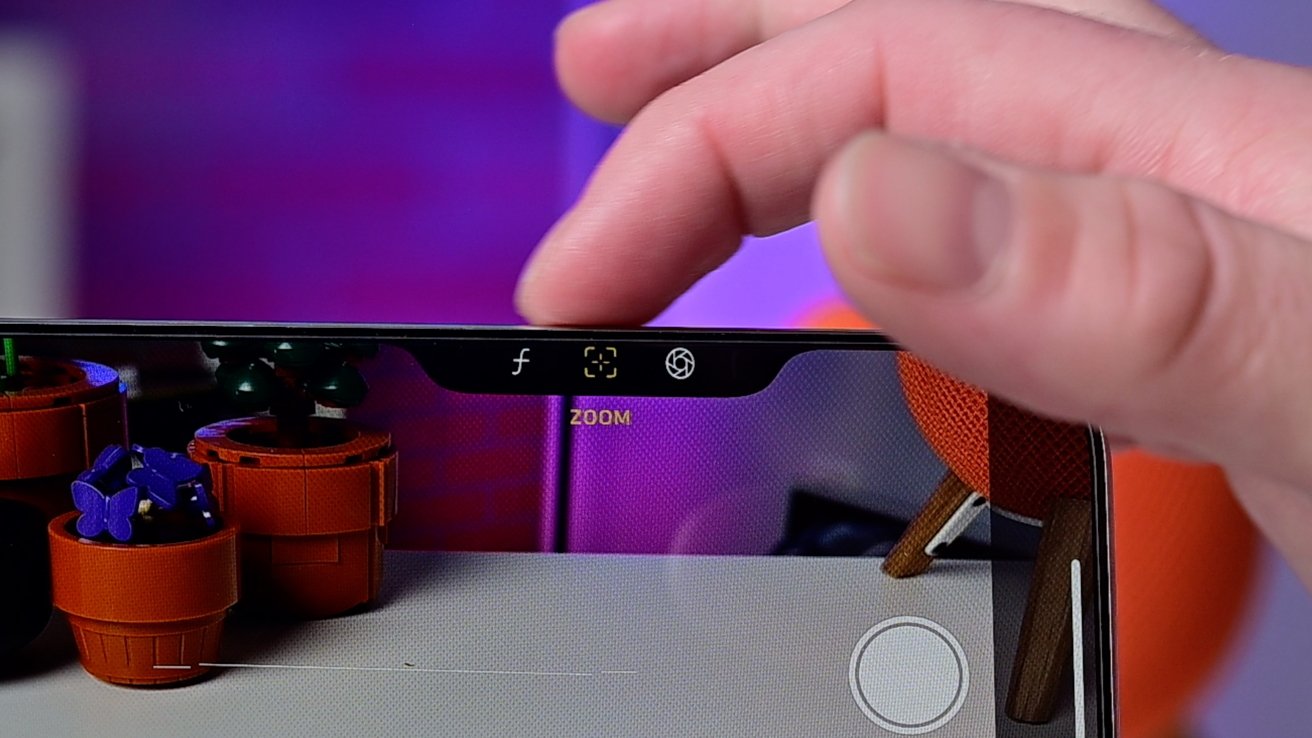
That leads us to portrait mode. Portrait mode adds an adjustable degree of background bokeh to your photos of people, pets, and even objects.
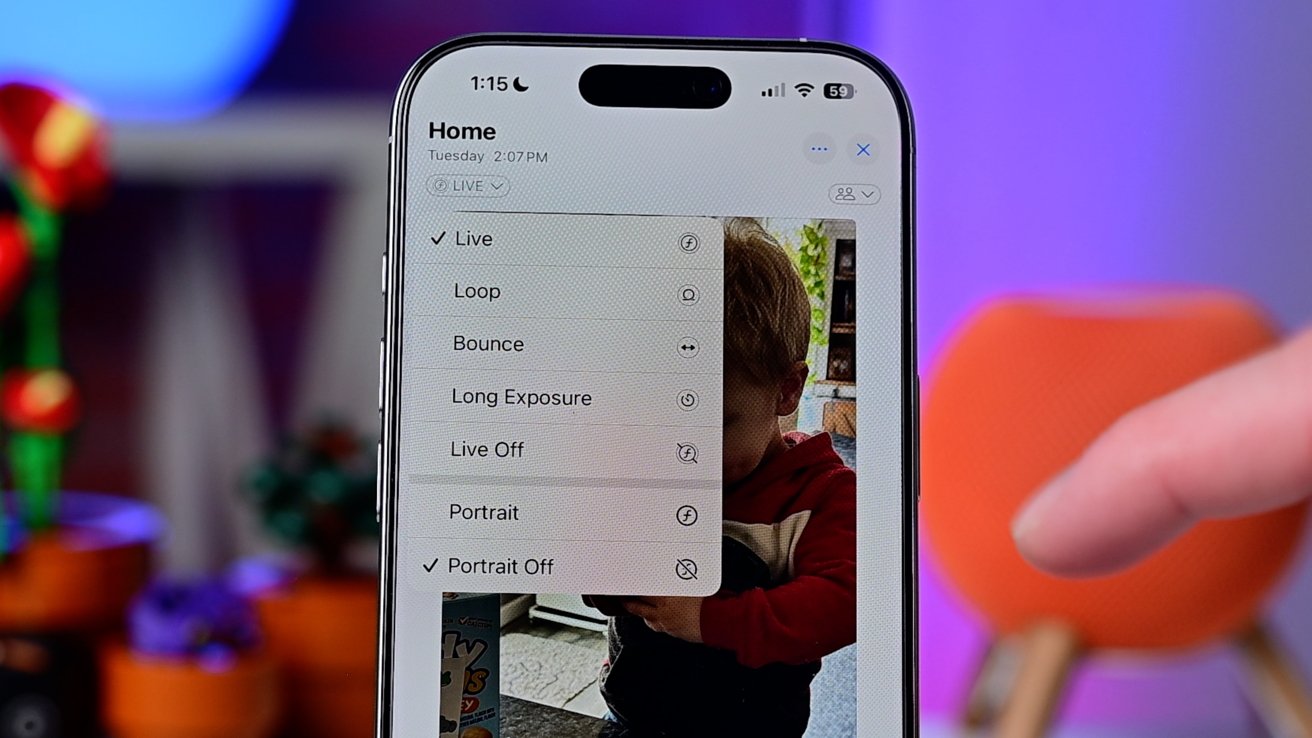
You used to have to choose between portrait shots and Live Photos. That's no longer the case.
When you take a picture in photo mode and it detects a person or an animal, it will also collect depth data. Then after, you can choose whether you want it to be a Live Photo or a portrait photo.
The only limitation here is that it does take a second to detect the subject. You'll know it is capturing depth data by the stylized "f" that appears in the lower-left corner.
Video modes
Video modes include standard video, time-lapse, cinematic, and slo-mo. They all bring something a little different to your movies.
Time-lapse records footage over time and speeds them up various amounts depending on how long it is. Slo-mo records at a high frame rate, up to 240FPS at 1080p or 120FPS at 4K.
Cinematic mode is basically portrait mode, but for video. It focuses on your subject and blurs out the background.
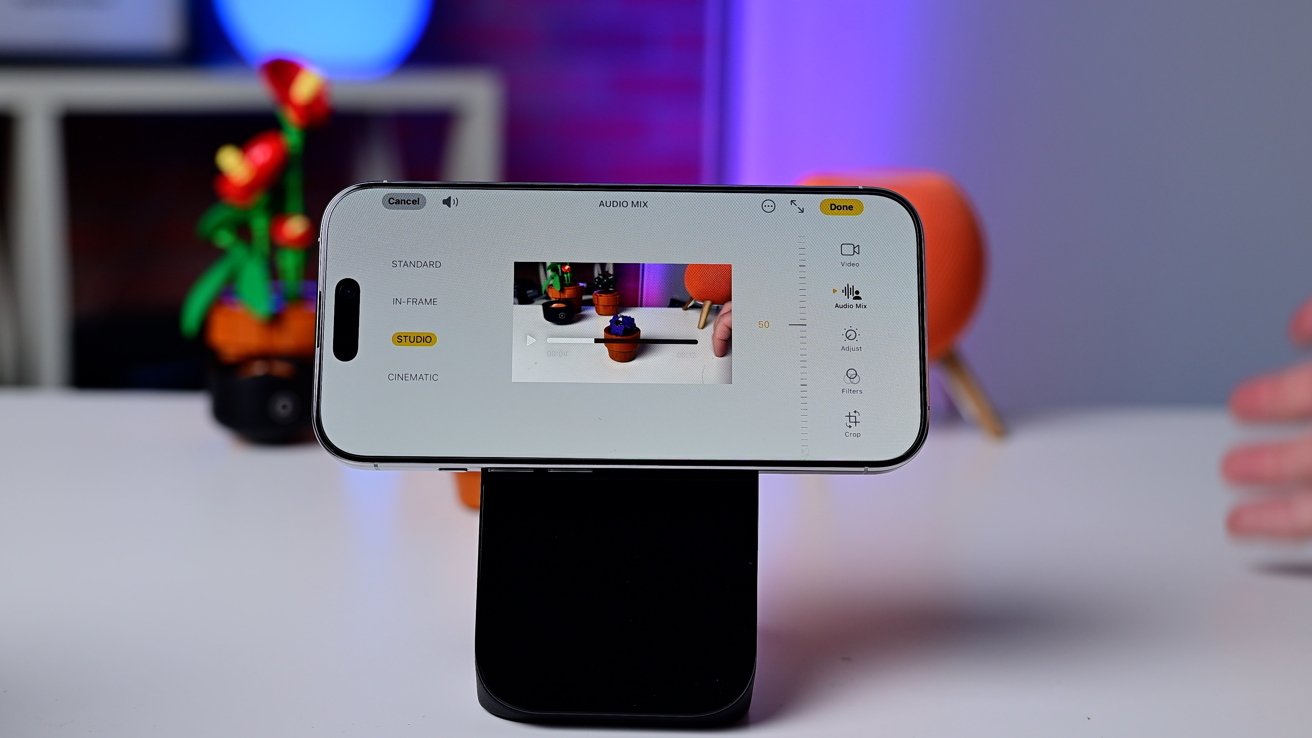
Audio Mix on iPhone 16
You can change the focus after shooting, bring your subject or background subjects into focus as-needed. The amount of blur can also be adjusted.
While filming video, you can adjust the frame rate and resolution in the top-right corner. Just tap either of those and they cycle through.
The last mode is a little hidden. It's action mode and is enabled via an extra toggle that shows at the top-right as a person running.
When turned on, it can drastically help stabilize footage as you're moving or shaking. It has two limitations though.
Action mode footage can only record at 2.8K and needs a suitable amount of light. You can enable lower-light shooting in Settings if needed.
Extra settings
Outside of using the app, there are a few settings we recommend to those looking to get the most out of the camera. You can find these at Settings > Camera.
Video, we set to record at 4K24, but 4K30 is also suitable for most applications. If you plan on editing the video with other footage, perhaps from a second camera, it may help to also turn off HDR to avoid complications.
We also set out camera format to the high efficiency and 24MP. Professionals may want to turn on RAW photos, but they do take up a lot more space.
If you're unsure where to start with RAW, maybe try HEIF Max which captures up to 48MP but doesn't consume so much storage as ProRAW.
The level makes it easier to keep your photos straight and it lights up when perfectly level
Finally, we also turn on the grid and level which aids in composing our photos.
Read on AppleInsider
Comments
How did Apple fail to add an option to switch camera modes, i.e., Photo, Video, Slo-Mo, etc.?
How did Apple fail to add a setting to adjust the sensitivity of the Action Button?
Adjust the Camera Control pressure sensitivity by:
Go to Settings > Accessibility > Camera Control > Light-Press Force
Choose lighter, firmer, or default
Also, know that half-press doesn't actually actuate the button. It's more of a squeeze that the touch-sensitive button detects and activates haptic feedback.
But the phrase 'use cases' is grating. It is not what it actually means. It is a sloppy yet pretentious management tautology phrase that has been usurped from a technical meaning. Someone must have heard technical people using 'use case' but didn't understand what it meant. All that is needed is 'uses', or better 'needs', 'requirements', etc.
https://www.academia.edu/57581336/Writing_effective_use_cases
http://www.dsc.ufcg.edu.br/~garcia/cursos/ger_processos/seminarios/Crystal/Use Cases, Ten Years Later.htm
https://www.quora.com/What-are-use-cases/answer/Ian-Joyner-1
Use Cases explained in OOSC2 p 738 (included in above link).
https://www.codeproject.com/Articles/22769/Introduction-to-Object-Oriented-Programming-Concep#case