How to back up your Photos library in macOS Sequoia

Your Photos library might sync with iCloud, but in macOS Sequoia, making a manual backup is still a smart way to guard against deletion or corruption. Here's how to keep your memories safe.
Back up your Cloud photos to your Mac for safekeeping
Apple's cloud service mirrors your library across devices, but if something gets deleted or corrupted, it vanishes everywhere. That's why a manual, local backup of your Photos library is critical.
Photos replaced iPhoto in 2015 but the local library structure remains largely the same. In macOS Sequoia, backing it up involves ensuring originals are downloaded, then copying the full library to an external or secondary location.
How to select the correct Photos library on Mac
To make sure your Mac's Photos app syncs properly with iCloud, it's important to designate the correct System Photo Library. If this isn't set, you might encounter the error, "iCloud features for Photos are only available in the System Photo Library," preventing iCloud Photos from syncing on your Mac.
The error usually pops up when users primarily use iPhones or iPads for photo management and overlook the Mac's library settings. In such cases, the Mac's Photos app may not be linked to the iCloud Photo Library, leading to synchronization problems.
- Quit the Photos app.
- Hold down the Option key and open the Photos app.
- In the Choose Library window, select the library you wish to use.
- Once the library opens, go to the Photos menu and select Settings.
- Under the General tab, click "Use as System Photo Library." If this option is grayed out, the current library is already set as the System Photo Library.
After setting the System Photo Library, navigate to the iCloud tab in the Photos settings and ensure "iCloud Photos" is checked to enable synchronization.
How to download full-resolution originals to your Mac
Photos is the app that manages your photo library on your Mac, while iCloud Photos is the optional sync service that keeps your images and videos up to date across all Apple devices.
Turning on iCloud Photos stores your library in the cloud, but unless you also download originals to your Mac, the local Photos app may only contain lower-quality previews.
- Open the Photos app.
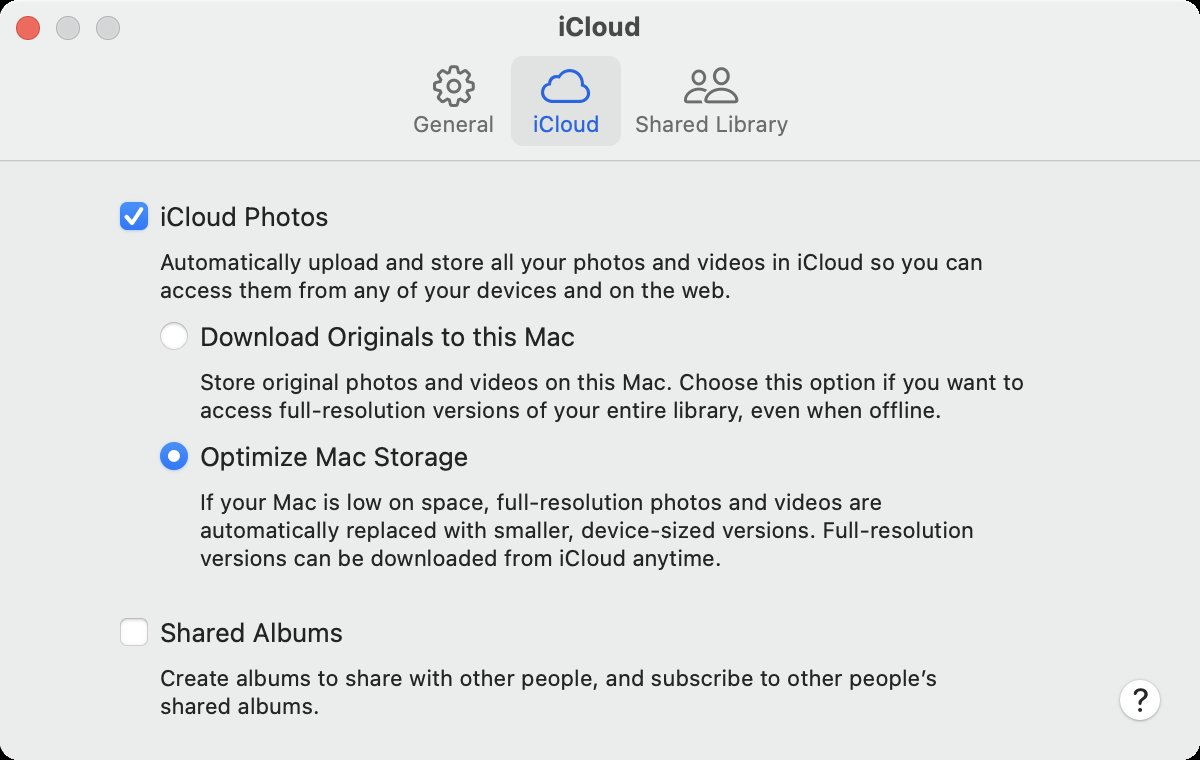
- Go to Photos, Settings and select the iCloud tab.
- Enable Download Originals to this Mac.
That disables the "Optimize Mac Storage" setting and triggers a download of your complete photo library. Depending on your collection, this could require tens or hundreds of gigabytes of local storage.
Download full-resolution originals to your Mac
Keep your Mac plugged in and online until it finishes downloading. To prevent it going to sleep, go to System Settings, Battery, then click Options and tick "Prevent automatic sleeping on power adapter when the
display is off."
If your Mac doesn't have enough space to store your full library, consider using an external drive as your System Photo Library. Alternatively, you could use an external drive so that you temporarily freeing up space until the download completes.
Manually back up to an external drive
Once all originals are stored locally, you can copy your Photos library to an external hard drive or network share.
- Quit the Photos app completely.
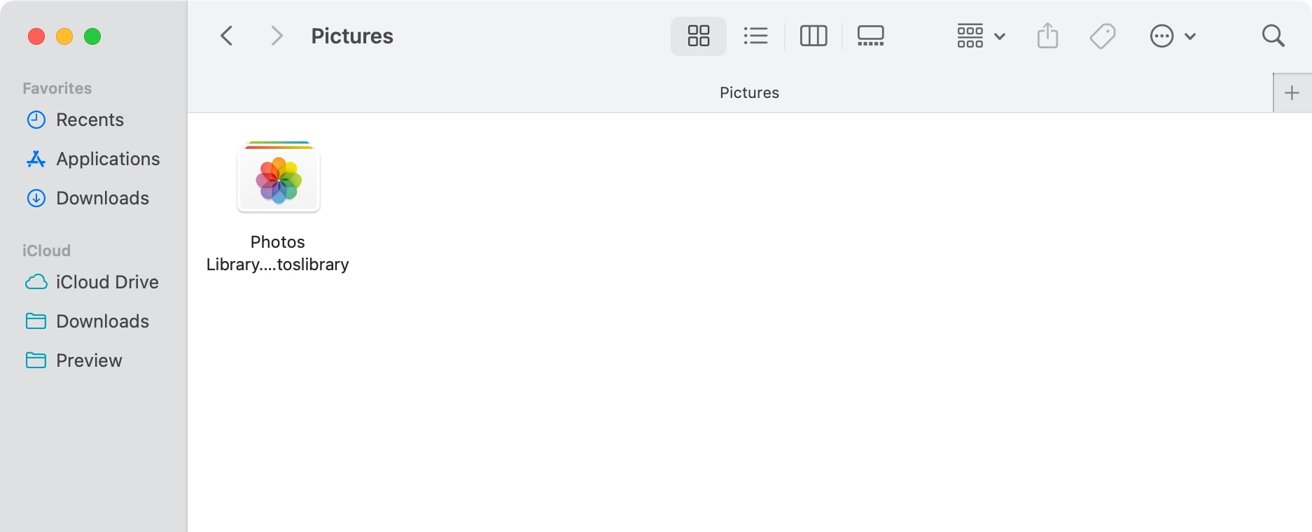
- In Finder, open your Pictures folder and locate Photos Library.photoslibrary.
- Connect an external drive formatted as APFS or Mac OS Extended (Journaled).
- Drag the Photos Library file onto the external drive and wait for the copy to complete.
With all originals now stored locally, you can manually copy your Photos Library to an external drive. Quit the Photos app first, then drag the file named Photos Library.photoslibrary from your Pictures folder to the external disk.
Manually back up to an external drive
Don't disconnect the drive or let your Mac sleep during the transfer, as that can corrupt the backup. Once the copy completes, you'll have a full duplicate of your photo library, including high-resolution images, videos, and metadata.
For long-term storage, never use a drive that's also used for Time Machine. Apple warns against storing Photos libraries on backup volumes managed by Time Machine.
If you plan to open the Photos Library directly from the external drive, rather than just storing it as a backup, you'll need to adjust the drive's permissions to prevent access errors.
- Right-click the external drive in Finder and choose Get Info.
- Check the box labeled "Ignore ownership on this volume" at the bottom of the info window.
The option tells macOS to treat the drive's contents as universally accessible, which avoids Photos permission errors tied to user accounts.
Back up to another location on your Mac
We don't recommend this, but if you don't have an external drive, you can still create a secondary copy of your Photos Library by storing it on a separate volume or partition on your Mac. It won't protect against full drive failure, but it can offer a layer of isolation in case of software corruption, user error, or accidental deletion.
To do this, you may want to create a second volume or partition using Disk Utility.
- Open the Disk Utility app from your Applications > Utilities folder.
- Select your internal disk (usually called "Macintosh HD") in the sidebar.
- Click the plus (+) button to add a new APFS volume, or use the Partition tab for an HFS+ partition if needed.
- Name the volume (such as "Photo Backup"), choose the format (APFS recommended), and click Add.
Adding a new volume to an APFS disk doesn't erase existing data, which makes it a safe way to separate your backup from your boot volume without wiping your Mac. Once the new volume appears in Finder, quit the Photos app and copy Photos Library.photoslibrary from your main Pictures folder to the new volume.
While this setup gives you an extra copy in a separate space, it's still on the same physical drive. So if the drive itself fails, you'll lose both versions. For full protection, use this method as a temporary measure or in combination with an external backup.
Use Time Machine as an additional safeguard
Time Machine can serve as a valuable second layer of protection for your Photos Library. As long as the library is stored on your Mac's internal drive, Time Machine includes it in regular backups automatically.
Use Time Machine as an additional safeguard
You'll get versioned restore points that a manual copy alone can't provide.
- Make sure your Photos Library is located on your internal disk, not on an external or network volume.
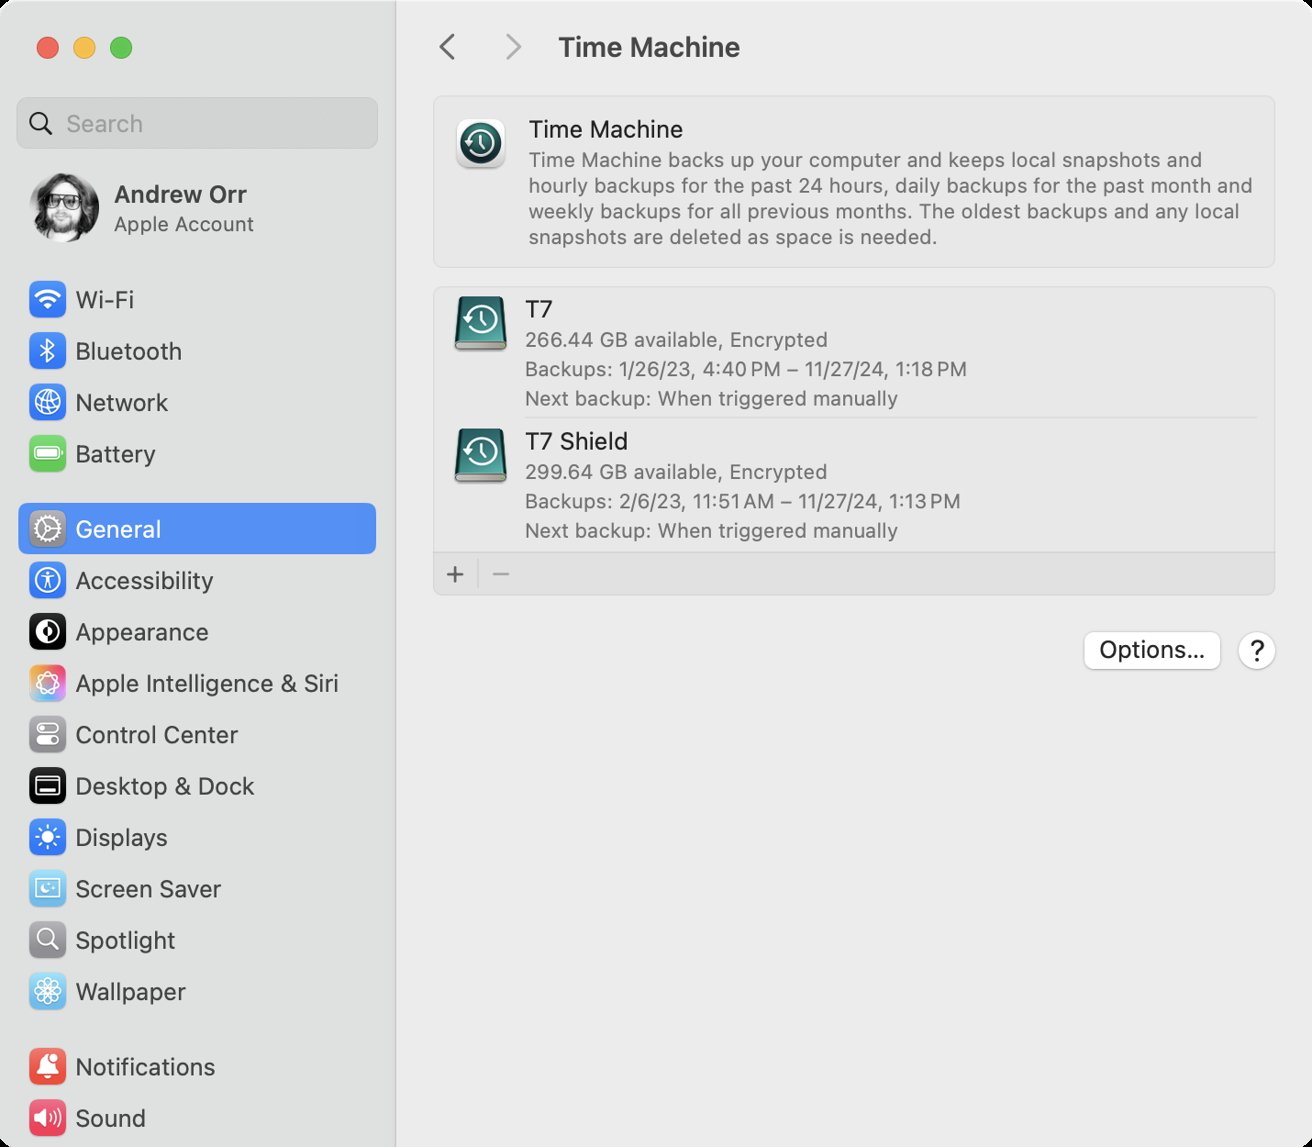
- Connect a Time Machine-compatible drive and turn on Time Machine in System Settings.
- Let Time Machine run scheduled backups or start one manually.
- If needed, use Time Machine later to browse through earlier versions of your Photos Library and recover deleted or changed content.
Don't store your active Photos Library on the same drive used for Time Machine. Apple warns that doing so can lead to corruption or backup failures, because Time Machine treats the entire drive as a backup destination.
For Time Machine to work correctly, your Photos Library must remain on your Mac's internal storage, in the default location, preferably.
The Photos app is designed to sync, not to archive. If a file is deleted or corrupted on one device, the change propagates to all connected devices. That's why local backups are essential.
We recommend maintaining both a manual backup and a Time Machine backup of your Photos library. Even if iCloud fails, you'll have full-resolution protection and historical recovery options.
Read on AppleInsider
Comments
In my case, and I suspect in many others, the library has grown way above the capacity of the internal drive. As much as I appreciate all iCloud features (seamless sync, faces, albums, memories etc) being able to store a copy of the files on an external HDD would give me much more peace of mind. And not having the possibility to do this is a real shame. Unless of course you want to spend one or two days copying files in batches from iCloud and dragging them on an external drive which is tedious, to use a kind word....
You can host your full Photos and Apple Music libraries on an external drive. They will still be available for streaming from your iCloud storage. You can also backup your Photos and Music libraries using Time Machine. The thing that you have to remember is that Time Machine will only backup what is physically present on the drive where the files are hosted. If you use Optimized storage for Photos and/or Music then Time Machine will only back up what is physically on the drive. Anything not downloaded to your local drives will only have a placeholder for the files not downloaded to allow them to be shown up in the applications. The same thing applies to Carbon Copy Cloner, iDrive, and most third party backup tools.
There are plenty of ways to achieve your storage objectives if you use some of the available options on your Apple devices. If you have more than one Mac that accesses your Photos and/or Music libraries you don't have to download the full libraries to every machine to get a local backup. You can designate one machine, usually the one with the most available local storage, to host the full library. All other machines and devices can work with iCloud as needed, but you can also use Family Sharing to play music content from one Mac's music library on up to 6 other devices on your network at the same time including other Macs, Windows PCs, iOS devices, iPadOS devices, and Apple TVs. I've found Family Sharing of music to be very useful especially when the Mac that is hosting the shared content has the full library downloaded.
I used to use my old 2014 Mac mini with homemade Fusion Drive to share music across my local network. Whenever I added new songs to my library they were automatically downloaded to that machine. I've since given that machine away and now host my Music library on an external TB4 SSD on my M2 Pro Mac mini. It's configured to download everything and is backed up using Time Machine.
As far as I know, photo sharing always involves iCloud, but you can still do a full download of your library on one machine and back it up using Time Machine.
Then I found IcloudPD. It requires Docker and a little terminal work so it isn't for everybody. Works great, runs automatically every couple of days. Unfortunately (or fortunately) you have to refresh the OTP every 30 days.