How to back up your Mac under macOS Tahoe

Backing up your Mac is not just something you do when testing betas like macOS Tahoe; it is an everyday essential if you want to avoid risking losing irreplaceable work.
You may never glance at your Mac's drive, but you need to make a copy of it.
Maybe you think you don't need backups because your work is like throughput in a larger workflow. You get sent a task, you work on it, then you send it on to someone else as if in an assembly line, and never, ever go back to anything you did before.
But, at the absolute least, you have spent time adjusting and configuring your tools so that you can work so efficiently -- and every one of those settings can be lost. Plus, if someone does come back to you about your work, you know it will be an emergency.
So you won't have time to redo the work, you won't have time to reinstall apps, and you won't have time to remember those essential settings.
Whether your MacBook Pro has been stolen on the airplane, or your Mac Studio has been destroyed in a fire, your data is precious and it can be lost forever.
Plug in an external drive and macOS Tahoe will offer to make it a Time Machine backup
What you need is robust, reliable backup system. And if you're shrugging because you've already got iCloud and Dropbox, brace yourself for some bad news.
The bad news first
Dropbox, iCloud, and just about every other cloud service that gets used in day-to-day work are not really backups at all. It is true that if you drive over your MacBook and shatter it, your Mac Studio will still have those files.
But if your ex takes your iMac and goes crazy erasing everything, then iCloud, Dropbox, and the rest will faithfully mimic that erasure on every device you own.
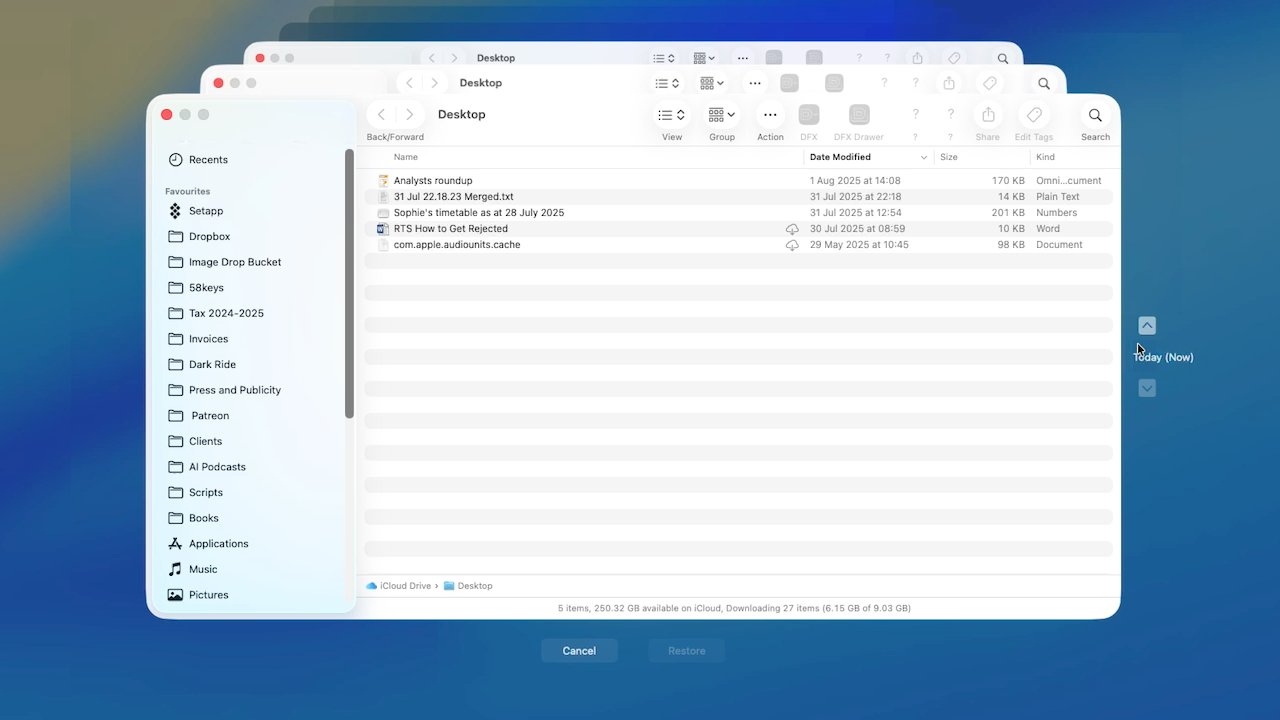
In Time Machine, the current window opens -- and so do all of the previous backups of it.
These services do have ways of getting your data back within a certain time, typically 30 days. But you have to know that it's gone, and if you don't find out in time, it's lost forever.
As essential as iCloud may be for Apple users today, it does not serve as a true backup service -- so you'll need to look elsewhere for that.
Your broad choices
Accepting that doing nothing and just waiting for disaster isn't the best choice, what's left is where you store your backups -- and how you do them. The ideal is a system that just backs up for you, something you can trust to keep on doing it forever, and a system where it's quick to get everything back when it's been lost.
Apple's iCloud doesn't fit the bill, but Apple's Time Machine does. There are alternatives and reasons to use them, but Time Machine is classic Apple. It's simple but effective, powerful enough but not complicated.
Choosing Apple's Time Machine
In every possible way, Time Machine is the easiest backup system to use. It's even the easiest to get since it's already waiting there on your Mac. The sole extra thing you need is an external hard drive, the same as you do for all of these backup systems.
Run Apple's free Time Machine to quickly search through recent backups
When you plug a drive in and go to format it, your Mac will even prompt you to use it as a Time Machine volume. If you decide to, that's pretty much it -- job done. Your Mac will regularly back itself up to that external drive.
You can go further and say when you want that regular backup to happen, plus you can choose what gets backed up. There are far fewer options you can set compared to any of the other backup apps here, but Time Machine is meant for you to set up and forget.
It's meant to be that you never have to think about it again until you lose a document and want to get it back.
So, that could be that, Time Machine could be the right - and the whole - solution for you. However, get another solution as well.
Time Machine isn't enough
That's because Time Machine is remarkable for what it does, and that it is built right into your Mac, yet it has problems. They're not major, but they are at least inconveniences.
The most immediately obvious one is that Time Machine is notably slower at backing up than practically any option, most definitely including third-party backup apps. Compounding that, it doesn't have tools to let you quickly check that a backup is healthy.
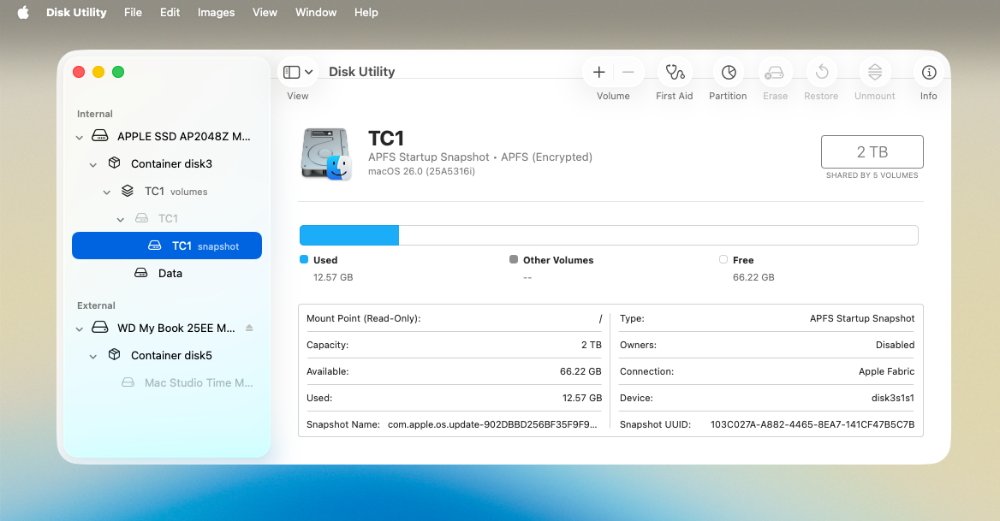
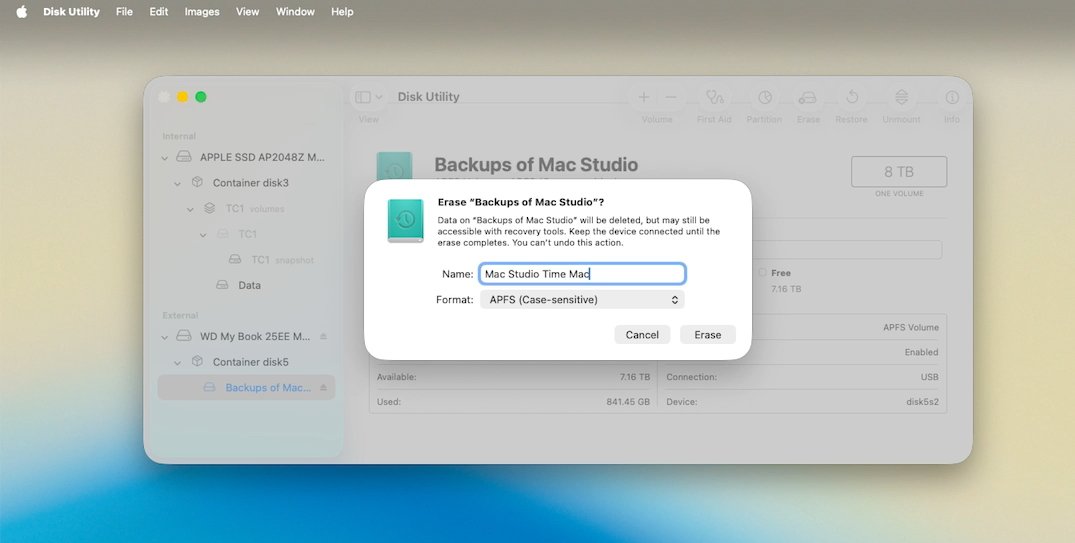
Use Disk Utility to format new drives or check on the health of existing ones
There are tools such as Disk Utility that come with a Mac, and they can be used to check that the drive itself is fine. But until you need to go in to look, or to recover a particular document, you may not know that the backup has been corrupted and is of no use.
We don't mind a little slowness if it keeps our data safe. With multiple Time Machine backups on different drives, we'll be covered if one fails. And since Time Machine runs in the background, we rarely even notice how long it takes.
But what makes us so certain that you need an alternative is this seemingly small point. Time Machine is built to be a backup of your data, not your hard drive -- so it will recover your documents, but it won't help if your Mac itself has died.
Unfortunately, these days, not much will. You used to be able to start up a Mac from an external drive, and it was simple to keep the latest macOS on there, plus your documents.
If your Mac died, it was usually the machine's internal drive, so you'd connect this external boot drive, turn on the Mac, and be up and running immediately.
However, since that means anyone could walk up to your Mac with an external drive and boot into that, they could perhaps access your other drives -- or your network.
Apple has stopped that, and while it's still possible to make one of these clone drives now, it's not practical. Third-party backup services that used to do this have mostly given up, and since this was part of their livelihood, you know they will have tried.
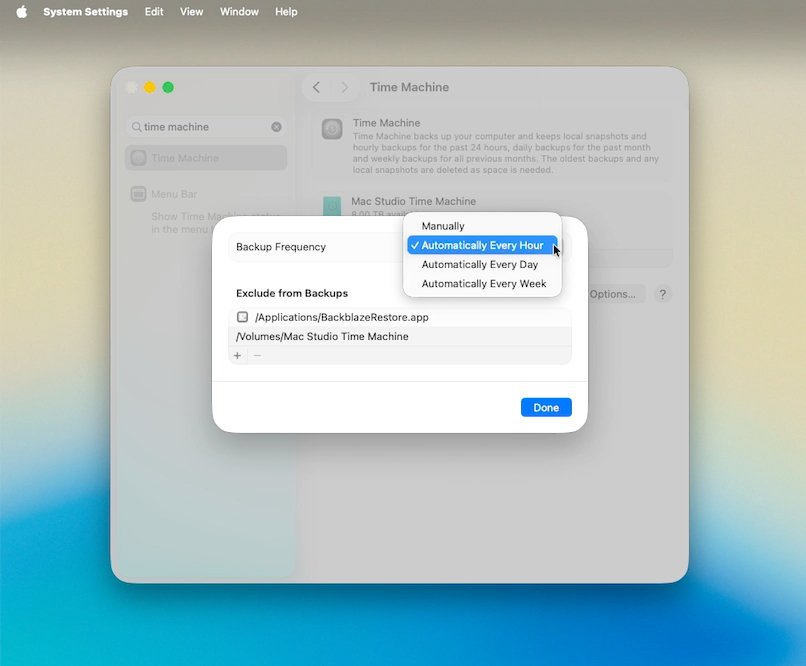
All good backup services, including Time Machine, can be scheduled
The good part of all this is that drive failures are much rarer than they were. You are far less likely to have what used to be a quite common problem.
Nonetheless, knowing that it's a one-in-a-million chance is no consolation if you are that one. Carefully read the AppleInsider guide to how to make an external boot disk in the more recent versions of macOS.
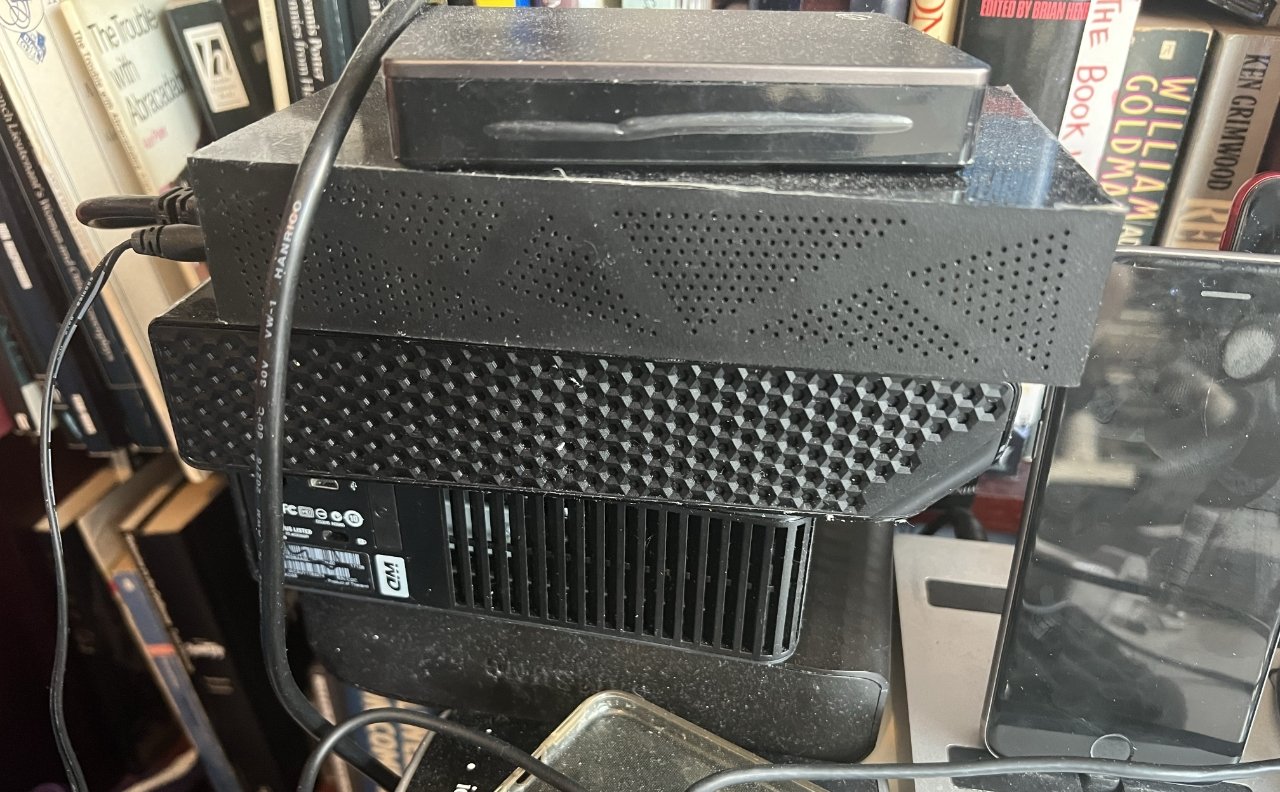
If you back up to multiple external drives that you plug in and out, at least take better care of them than this
Third-party backup solutions using apps and external drives
Despite being forced to drop the ability to create a bootable external drive, there are still three main third-party backup apps that are recommended.
The three are SuperDuper!, ChronoSync, and Carbon Copy Cloner. Any of them will work well for just about any user, but some differences mean one may suit you better than the others.
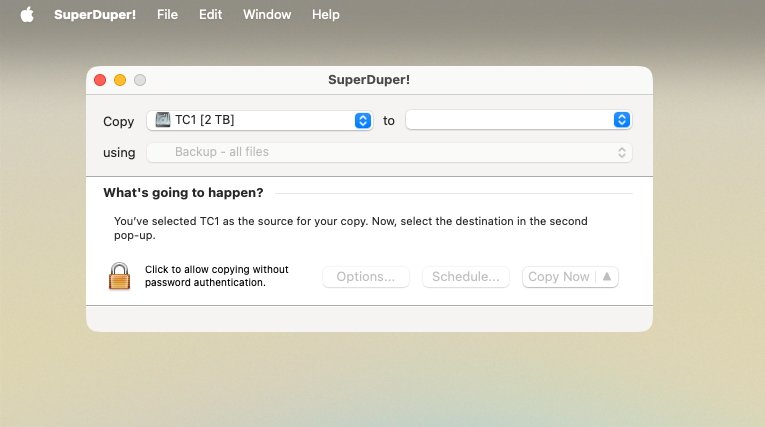
SuperDuper! always makes it clear what will happen next when you press the backup button
Like Time Machine, they also require you to have a space drive or two. In every case, you can plug in a drive, do a back up, and unplug it.
That does require you to manage the drives and remember to manually make the backups, though.
SuperDuper!
SuperDuper! 3.10 is designed to be simple enough for anyone to use. Just choose the drive you want to back up, select the destination, and start the process with a click.
There's a generous free trial version you can download, but once you've tried it out, pay the $27.95 purchase price. It does get you small extra features, but it's also a very small price to pay for having backups done easily.
SuperDuper! is also a backup app that can create external bootable drives. For all developers, though, it's a fragile feature that Apple updates can sometimes break
Carbon Copy Cloner
Carbon Copy Cloner looks more complicated than SuperDuper! but with a little extra complexity comes greater functionality.
It's a fine line, though, with both of these apps offering features you quickly grasp and others that you have to think about. Much of the real difference between SuperDuper! and Carbon Copy Cloner comes down to personal preference.
However, there is a feature in Carbon Copy Cloner called task chaining. It lets you set up multiple back ups in a row.
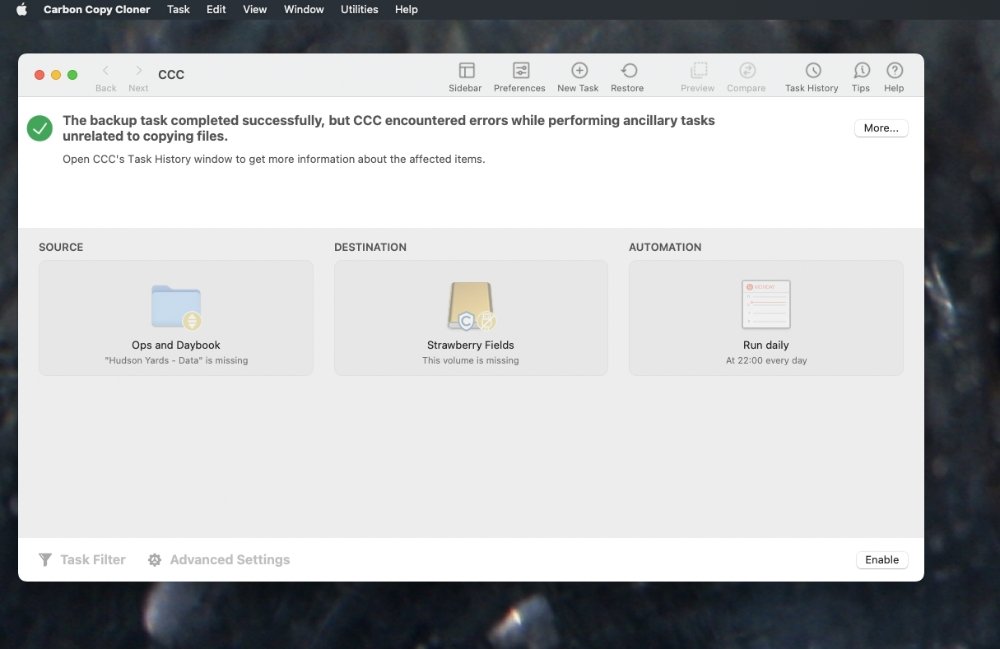
As well as the reassurance of being backed up, apps like Carbon Copy Cloner make sure you know of any problems.
Carbon Copy Cloner 7 costs $49.99 direct from the developer and requires macOS Ventura or later. That price is for a non-commercial use of the app on all Macs in your household.
Note that Carbon Copy Cloner will no longer even attempt to create an external bootable drive.
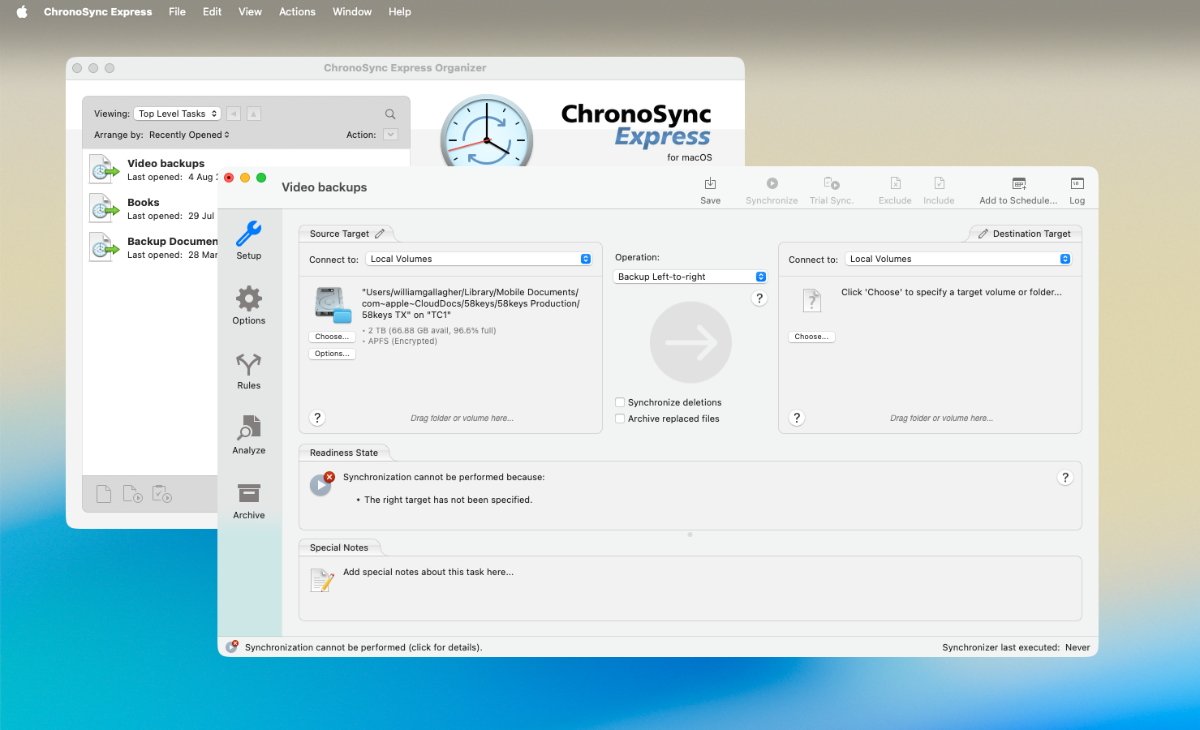
Then there's ChronoSync or the lower-cost, lower-featured ChronoSync Express. As the name implies, this backup app is focused on making time-specific backups -- and, very, very many of them.

Comments
Besides this encouragement to do it NOW, I'll add a few things/tips to this good article:
One more time: do it and do it now. You don't want to be THAT GUY freaking out at big data loss and no backup. You don't want to have to shell out about $1K in hopes that maybe some specialized firm MIGHT be able to recover some of the data from the one drive that seems dead/dying. If you search, you will find hundreds & hundreds of posts of that very scenario. That could be you if you do nothing about this. It is easy to proactively avoid the loss and you already have TM ready to do the software part of it in your Mac right now.
Make sure they are protected and that if disaster strikes you will be able to retrieve the data.
Will you remember the password and have access to the backups?
How you use your devices is at least as important to deciding how to back them up is. I don't have "crazy ex's" but everyone is exposed to data breaches (don't fool yourself into thinking iCloud and Dropbox are citadels of impenetrability - they are just less likely be breached than say...oh your front door) and good old smash and grab. The only thing that makes this a tenable strategy is to move a HD, it has to be unpowered. When a thief plugs it back in, the password is required - if you encrypted it and put a complex password on it.
Encrypt those external drives when you back them up. Unless you are specifically careful about it, your keychain manager is one of those things that gets backed up (and perhaps rightfully so - this is the one thing I do need a back of.) The crazy ex might hire a muscle man to bust the front door down to "get that stuff back" and walk out the door with...all of it. Don't be cutesy with the dog's name as a password to "remember." Write it down (all 16 digits, alphas, special characters), make a hard copy, maybe write a hint on it to scramble it ("add the usual suffix" or similar that isn't obvious but that you know and will never forget - and be thoughtful about it) and then put that in a safe/ safe physical location.
That keychain/ password thingy is the worst of all worlds: someone gets that, and you've got a problem. Lock it up like the launch codes.
CrashPlan is my cloud backup preference, as it uses FSEvents to minimise scanning overhead ,and provides Point-in-Time-Restoration (PITR), as does Time Machine.
I also use Carbon Copy Cloner, but be aware that if you experience failure on the drive you are backing up, you also lose snapshots, which limits you to the last backup CCC completed. Snapshots provide PITR.